
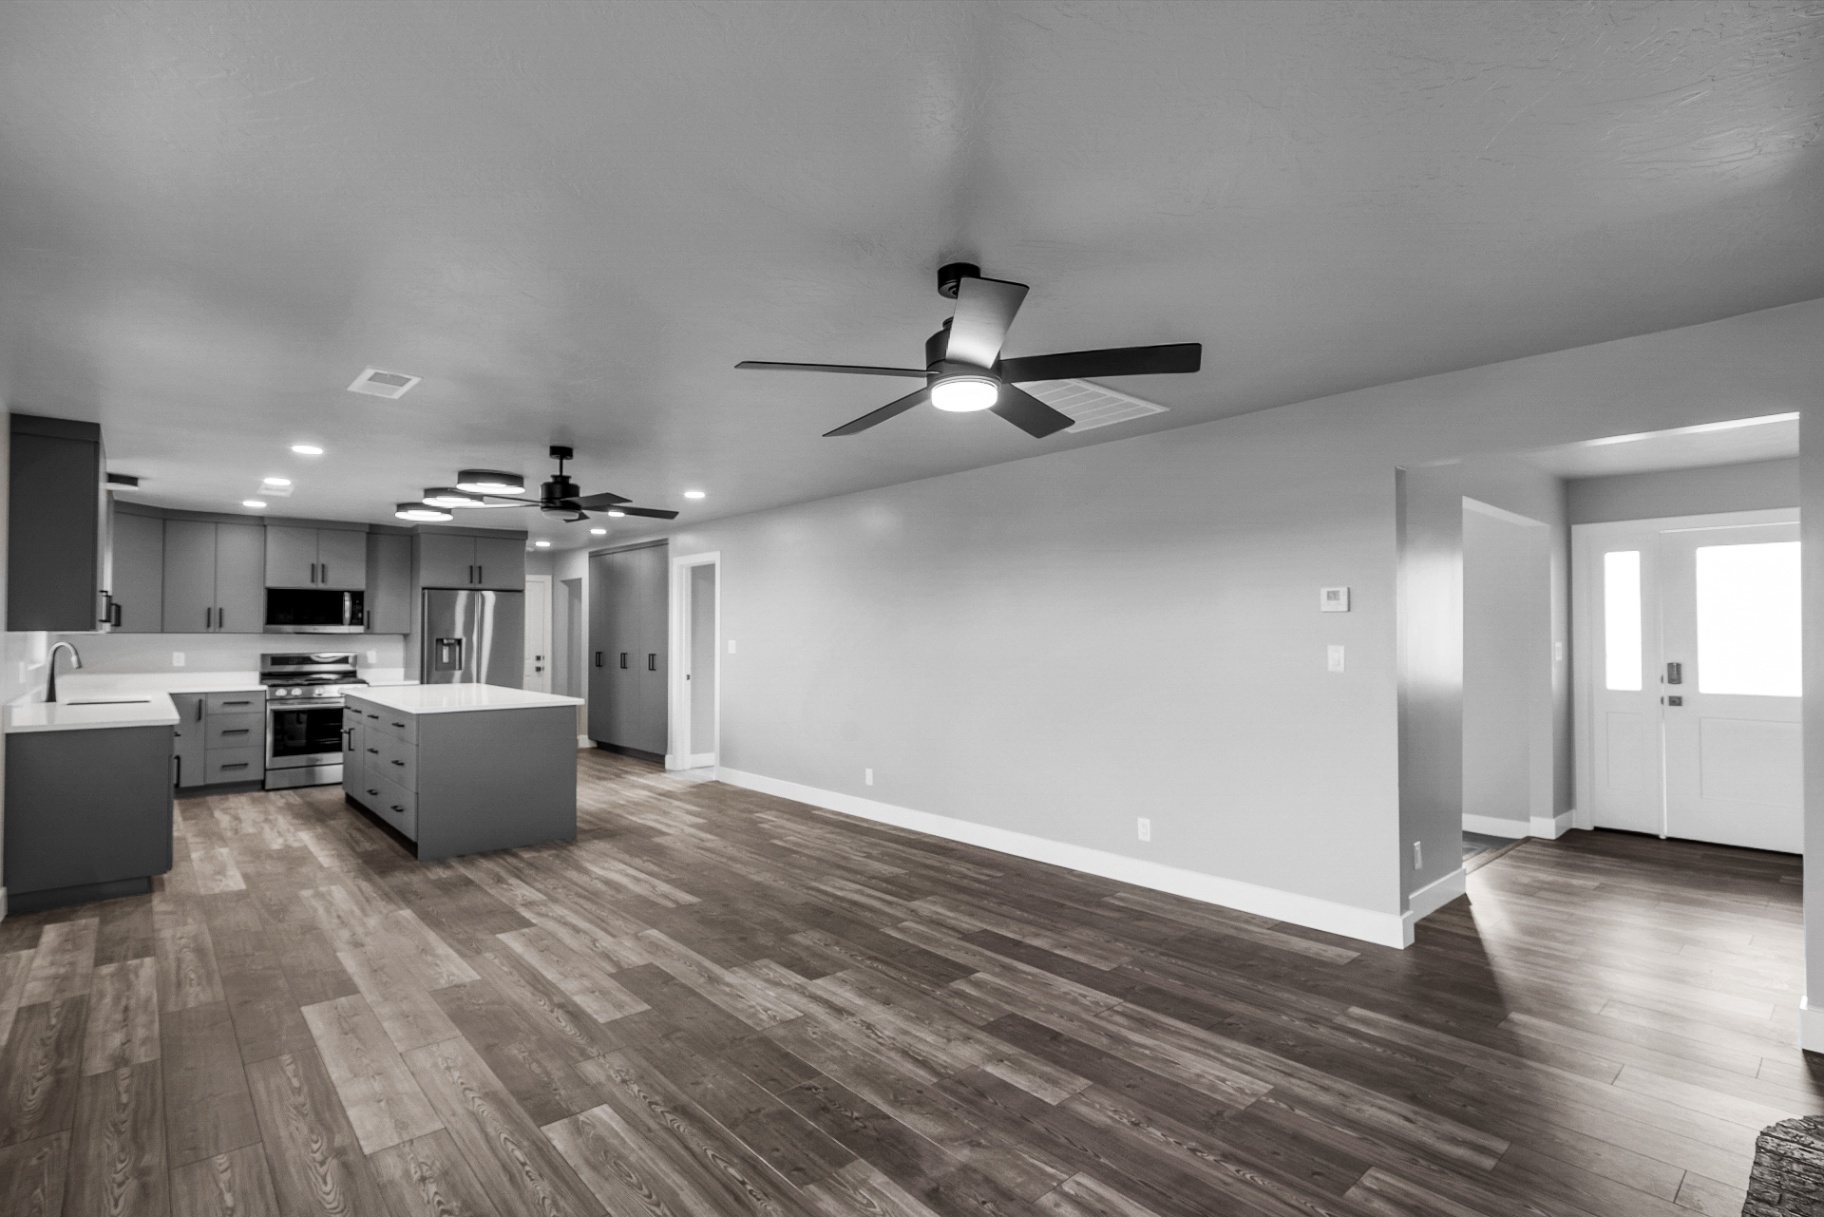
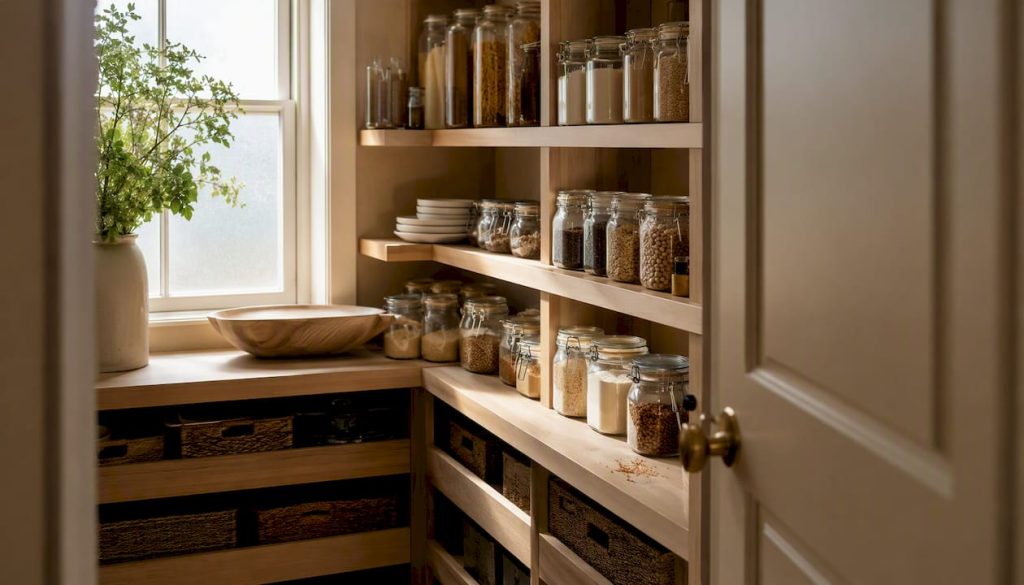
Transform your pantry with smart design ideas that enhance visibility and workflow. Discover tips for maximizing space and efficiency.
- Uncategorized
- August 11, 2026
The fastest upgrade you can make to a pantry is matching the layout to how you actually cook, then layering in visibility-first storage. Here are the highest-impact pantry design ideas to start with:
- Match layout to workflow: Compare walk-in, reach-in, and butler arrangements using actual contents and footprint.
- Consider pull-outs: Verify cabinet interior dimensions, load ratings, travel, grip, and product availability.
- Improve visibility: Clear bins and labels may help inventory; preserve food labels and suitable storage conditions.
- Plan lighting: Coordinate task and overhead lighting, switching, and electrical requirements before cabinetry.
- Compare doors: Pocket, sliding, bifold, and swing doors each have wall-space and maneuvering tradeoffs.
- Zone by reach: Put frequent and heavy items within each user’s comfortable reach.
- Provide a landing area: Size it for actual groceries and appliances, not a mandatory 12–18-inch rule.
- Test shelf depths: Shallow shelves may improve visibility; deeper ones can serve bulk items with suitable access.
- Design access as a system: Door clear opening, approach, maneuvering, turning, and reach must be evaluated together. A 30-by-48-inch clear floor rectangle or 36-inch route alone does not make a pantry usable by everyone.
Key Takeaways
A well-designed pantry starts with layout and visibility, not storage volume — get those two right and organization follows naturally.
| Point | Planning consideration |
|---|---|
| Match layout to footprint | Compare room geometry, contents, and circulation |
| Prioritize visibility | Mock up shelves and pull-outs at proposed depths |
| Plan lighting | Coordinate electrical work before cabinetry where practical |
| Choose doors | Check actual swing, wall, and maneuvering space |
| Define project scope | Confirm design, rendering, and installation services in writing |
What pantry layout fits your space and budget?
Choose a layout from the household’s workflow and measured footprint. A compact walk-in may sacrifice storage to circulation, but its capacity cannot be judged from a 4-by-4-foot dimension alone.
Layout types at a glance
| Layout | Useful context | Access considerations | Budget inputs |
|---|---|---|---|
| Reach-in | Compact kitchen storage | Approach, reach, doors, and pull-out travel | Cabinetry and hardware |
| Galley walk-in | Storage on facing walls | Aisles, door approach, turning, and shelf projections | Room work and lighting |
| L-shape walk-in | Corner storage | Corner reach and maneuvering | Corner hardware and cabinetry |
| U-shape walk-in | Multiple storage walls | Clear floor area with contents and doors open | Cabinet quantity and room size |
| Butler pantry | Serving and staging | Routes and appliance clearances | Utilities, counters, and equipment |
Practical dimensions to plan around
Shelf depths of roughly 12–16 inches and aisles of 36–42 inches can be sketching references for some layouts, not universal standards or evidence of accessible maneuvering. Test the actual room with door swings, pull-outs, mobility devices, and the intended users before finalizing dimensions.
Use preliminary dimensions only as prompts for a measured design:
- Shelf depth: Inventory cans, containers, bulk goods, and appliances; mock up the reach before selecting depth.
- Shelf spacing: Measure item heights and allow handling clearance; adjustable shelves help accommodate change.
- Aisles: Assess clear width with doors and drawers open, plus approach and turning needs.
- Landing area: Provide reachable surface area that does not obstruct circulation.
An island or prep counter may suit a larger pantry only if usable circulation and required clearances remain. Have structural, electrical, plumbing, and doorway changes reviewed for the actual project and jurisdiction; a generic pantry reference does not establish local code.
Storage hardware that actually reduces rummaging
Prioritize pull-out systems and full-extension slides wherever depth creates hidden zones. Fixed deep shelves are the single biggest source of expired food and lost inventory.
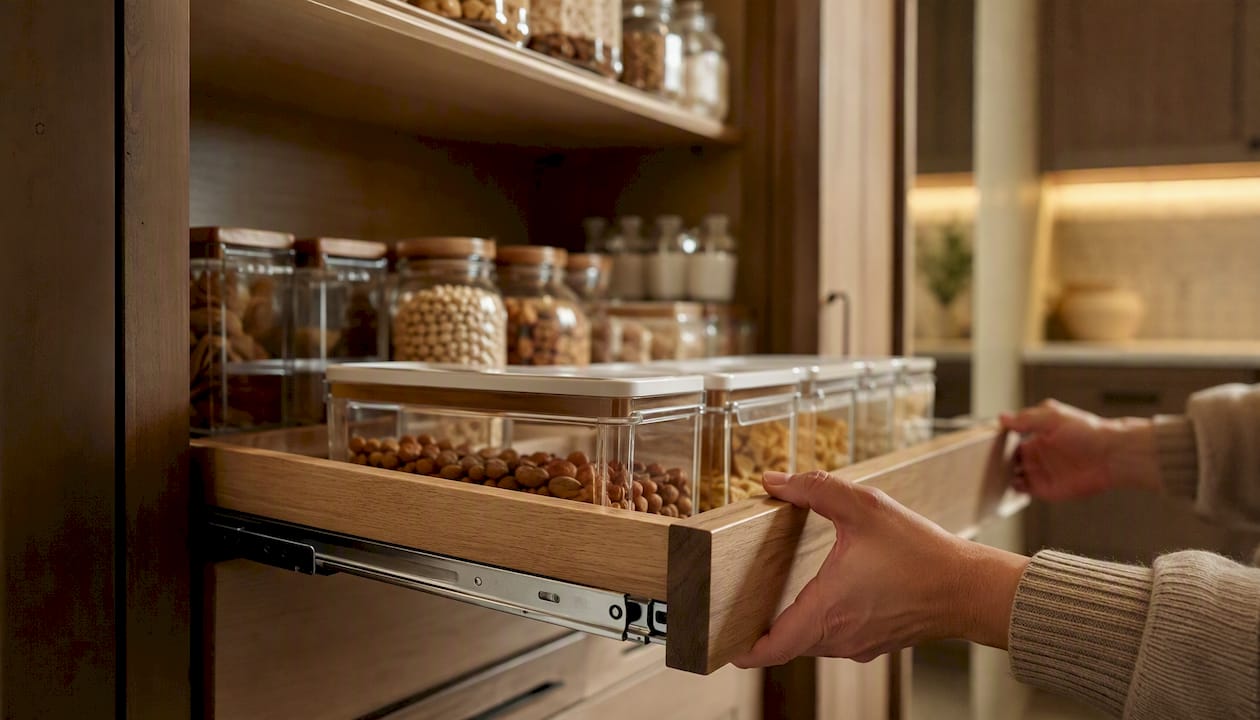
Pull-outs may help in deep cabinets; adjustable shelves may suit shallow reach-ins. Compare usable opening, slide capacity, installation, and user reach. Neither a 16-inch threshold nor a fraction-of-the-cost claim determines the best system.
Named product examples worth requesting:
- Pull-out systems: Check the current manufacturer specifications for cabinet dimensions, slide travel, load rating, and installation requirements.
- Modular cabinets: Confirm the current cabinet and organizer combination, actual interior dimensions, included hardware, availability, and complete installed price; nominal size does not establish compatibility or savings.
Container types that work:
- Clear glass or BPA-free plastic canisters in uniform sizes for dry goods (flour, sugar, pasta, rice)
- Uniform-width bins for snacks, packets, and small bags — label the bin, not the item
- Turntables (lazy Susans) for oils, vinegars, and condiments in corner or deep-shelf situations
- Shelf risers to double the usable vertical space on a fixed shelf
Pro Tip: Mock up the proposed shelf depth with the actual contents. Keep frequently used items visible and reachable; use deeper bulk storage only where its contents can be handled safely.
How lighting and finishes turn a pantry into a usable room
Lighting and finishes convert a pantry from a cave to a room. Plan both up front, because retrofitting electrical after cabinetry is installed costs significantly more than roughing it in during a remodel.
Lighting specs by layout:
- Reach-in: A motion-activated LED strip or puck lights under each shelf; a single flush-mount overhead if the ceiling is accessible
- Galley walk-in: LED strip lights under every shelf plus a flush-mount or recessed overhead; avoid a single bare bulb, which creates shadows on lower shelves
- L- or U-shape walk-in: Recessed overhead lighting plus under-shelf strips; consider a pendant or small chandelier if the pantry doubles as a butler-style entertaining space
Veranda’s 2026 trend coverage specifically calls out layered interior lighting and emphasizes treating pantries as room-like spaces rather than dark storage closets. That shift is practical, not decorative: better lighting means you see what you have, which reduces waste.
Finish recommendations:
- Shelving: Painted MDF or melamine for budget builds; solid wood or plywood with a washable finish for longevity
- Walls: Washable semi-gloss or satin paint; peel-and-stick vinyl wallpaper on the back wall adds texture without a permanent commitment
- Shelf liners: Removable, washable liners protect shelves and make cleaning spills a 30-second task instead of a scrubbing project
- Flooring: Tile or luxury vinyl plank in walk-ins; both clean easily and hold up to dropped cans
Pro Tip: In a galley pantry, paint the back wall a contrasting color or add a patterned liner. It makes items stand out visually and gives the space a finished look without adding cost. In an L-shape, run under-shelf lighting around the corner so the turn doesn’t create a dark zone.
How to zone your pantry for daily workflow
The core rule: put daily-use items between waist and eye level, heavy and bulk items on the lowest shelf, and overflow or rarely used items above eye level. Everything else is a variation on that principle.
Practical zones to build:
- Coffee and breakfast station (eye level, near the door): coffee, filters, oatmeal, cereals, and a small basket for sweeteners
- Baking zone (mid-shelf, grouped): flour, sugar, baking powder, chocolate chips, and extracts in one section so you pull everything in one trip
- Snack zone (accessible height for kids): uniform bins labeled by category (chips, crackers, bars) rather than by brand
- Beverage section (low shelf or floor): water bottles, sparkling water cases, wine if no dedicated storage exists
- Appliance garage (lowest shelf or a dedicated cabinet): toaster, blender, or stand mixer with their cords tucked behind them
Labeling strategy: Broad category labels (“Baking,” “Snacks,” “Canned Goods”) outlast hyper-specific ones (“Bob’s Red Mill Whole Wheat Flour”) when multiple people use the pantry. Specific labels work only if one person manages restocking. A behavior-focused design that groups items used together reduces searching time and expired-food waste.
Container discipline: Decant dry goods into uniform clear canisters. The visual consistency makes the pantry feel organized even when it isn’t perfectly stocked, and it makes inventory obvious at a glance.
Pro Tip: Schedule a 20–30 minute pantry reset once a month. Pull everything forward, check expiration dates on the back row, and return items to their zones. This single habit prevents the slow zone creep that turns a well-organized pantry into a chaotic one within six months.
Which door type gives you the most usable pantry space?
An inward-swing door occupies a swing zone that may conflict with users or storage. Measure the actual leaf, hardware, clear opening, and approach space; it is not a fixed loss of seven square feet in every pantry.
Door options and tradeoffs:
- Sliding barn door: Adds character, no floor clearance needed, but requires wall space on one side to slide open; not ideal for narrow hallways
- Pocket door: Disappears into the wall completely; best space-saver available, but requires a hollow wall cavity and is harder to retrofit
- Bifold door: A middle ground; folds to one side and needs less clearance than a swing door, though it can feel dated in modern kitchens
- Glass-panel door (Crittall-style or frosted/reeded): Adds visual interest and lets light pass through; works well when the pantry is visible from the kitchen or dining area
- Hidden/concealed door: Flush with cabinetry or wall paneling; Veranda’s 2026 trend coverage highlights this as one of the biggest pantry trends, and it works especially well in open-plan kitchens where a visible door breaks the visual line
For pantry door selection details and construction methods, One Day Doors & Closets covers the practical differences between door types and how each is installed.
Clearance callouts:
Where ADA requirements apply, evaluate clear floor space, accessible routes, doors, reach, and turning provisions together. The Access Board describes 30-by-48-inch clear floor space and separate turning requirements, including a 60-inch circular option or qualifying T-turn. A 42–48-inch aisle does not by itself provide wheelchair turning. Private single-family projects may be governed by other requirements; confirm applicability with the designer and jurisdiction.
Always confirm doorway widths and clearances with your local contractor and permit office before finalizing drawings.
Common pantry design mistakes and what they cost to fix
The most damaging mistakes share a theme: they prioritize storage volume over access. Deep fixed shelves, inward-swing doors, and a single overhead bulb are the three that cause the most frustration after move-in.
Mistakes worth avoiding:
- Deep fixed shelves: Check visibility and reach rather than imposing a universal 16-inch limit.
- Missing landing surface: Provide a reachable place to sort groceries where useful.
- Poor lighting: Test shadowing at the lowest and deepest shelves.
- Door conflicts: Check circulation with the door and pull-outs open.
- Container mismatch: Choose bins that fit contents and preserve labels.
Ballpark costs for common upgrades:
- Shelf lighting: Price fixtures, drivers, wiring, switching, and any licensed electrical work separately.
- Modular organizers: Confirm current cabinet and hardware prices, delivery, and installation.
- Contractor-installed pull-outs: Price each selected size and load rating against the existing cabinet condition.
- Door changes: Include wall framing, utilities, trim, finish repair, and hardware.
- Full pantry remodeling: Obtain a written scope covering cabinetry, lighting, doors, permits where required, and contingencies. The legacy dollar ranges are not verified current local quotations.
Spend on shelving hardware and lighting first. Those two upgrades change daily usability more than any finish choice. For a deeper look at kitchen remodel cost drivers, the same principles that govern kitchen budgets apply to pantry projects.
A step-by-step checklist to design and install your pantry
- Measure the footprint. Record width, depth, ceiling height, door swing direction, and the location of any outlets or light switches. Note shelf depths and the distance from the door frame to the first shelf.
- Capture your workflow. List the 10–15 items you reach for daily. These define your eye-level zone and your landing area placement.
- Pick your layout. Use the table in the layouts section to match your footprint to a layout type. If you’re adding square footage, check room addition options before committing to a reach-in.
- Select shelving systems and doors. Decide between modular (IKEA SEKTION, Rev-A-Shelf) and custom cabinetry. Choose your door type based on available wall space and clearance.
- Finalize the lighting plan. Mark locations for under-shelf strips, overhead fixtures, and any switch or outlet rough-in needed. Do this before cabinetry goes in.
- Buy and install. Order cabinets, hardware, and lighting together to avoid lead-time gaps. Install lighting rough-in first, then cabinetry, then doors.
- Set up zones and containers. Decant dry goods, label bins, and place daily items at eye level before the first grocery run.
- Schedule a monthly reset. Put it on the calendar. Thirty minutes once a month keeps zones intact.
Pro Tip: Before ordering any cabinet or pull-out system, record the interior carcass depth (not the door-face depth) and the door swing clearance in inches. Most ordering errors come from confusing nominal cabinet dimensions with actual interior dimensions. Write both numbers on your plans.
How to make your pantry work for everyone
Universal design aims to accommodate a wider range of users, but no small set of dimensions works for every person or mobility device. Assess the actual household’s reach, strength, sight, grip, and maneuvering needs.
Position frequent items within the intended user’s comfortable reach rather than treating 18–48 inches as a universal adult reach range. Where ADA standards apply, unobstructed reach is generally 15–48 inches and obstructions can reduce the permitted upper reach. Pull-outs and adjustable shelves may help, but need suitable grip, force, load, and approach space.
Aisle width alone does not establish access. Evaluate door maneuvering, passing where needed, approach to shelves, clear floor space, and turning separately. ADA guidance includes a 60-inch circular turning option or a qualifying T-shaped space; 42–48 inches does not automatically allow a wheelchair to turn.
Consider easy-grip hardware, visible shelf edges, slip-resistant flooring, and smooth transitions. Verify reach, operating force, installation cost, and suitability with the intended users; these details do not guarantee comfort for everyone or negligible additional cost.
Sustainable materials and eco-friendly pantry design
Sustainability in a pantry remodel is mostly about material choices and longevity. A pantry built to last 20 years with durable, low-VOC materials is more sustainable than one rebuilt every five years with cheaper components.
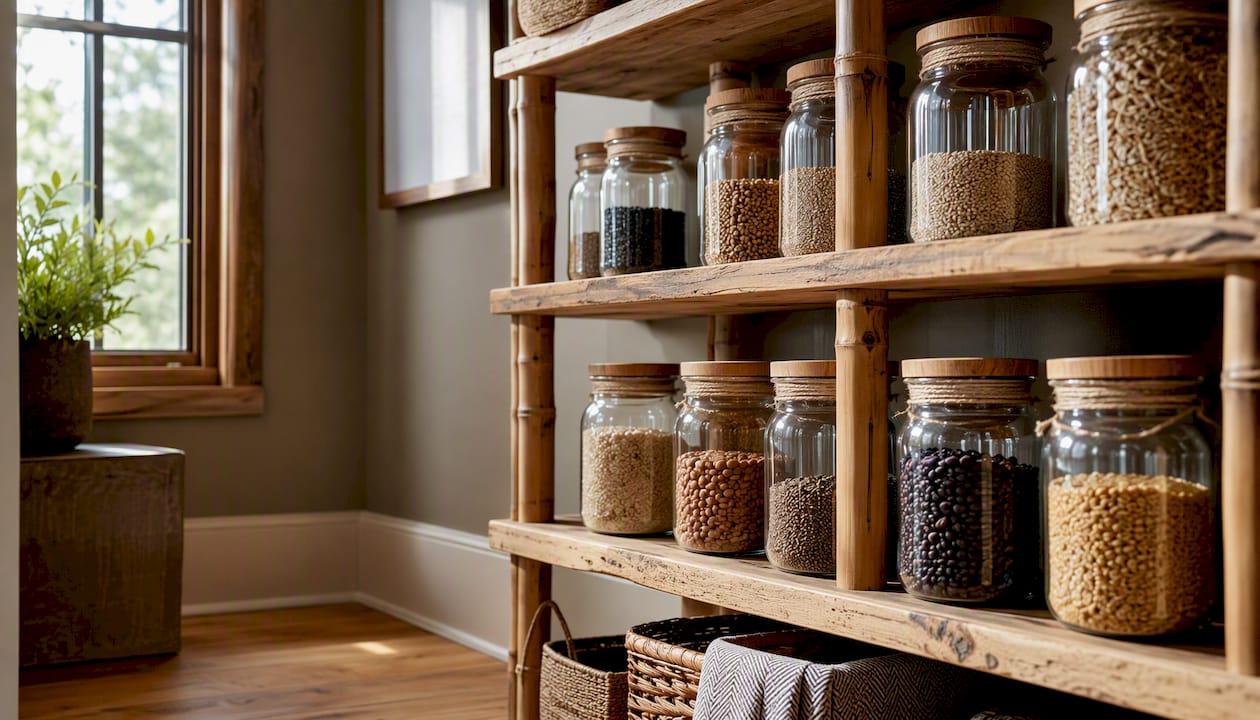
Shelving: Compare strength, moisture tolerance, edge treatment, and verified emissions certification. Solid wood or a “formaldehyde-free” label does not automatically establish the most durable or lowest-emitting complete assembly. For composite wood, verify applicable emissions compliance and current product documentation.
Finishes: Compare current product data, emissions information, cleanability, curing, and ventilation requirements. A low- or zero-VOC label alone does not guarantee equal performance or absence of emissions; legacy brand availability was not verified.
Lighting: LED strip lights and LED recessed fixtures use a fraction of the energy of incandescent or halogen equivalents and last far longer. In a pantry that may be lit for hours daily, the energy savings add up over a year.
Containers: Choose food-contact-suitable containers, maintain them, and inspect glass for chips or cracks. Glass is not guaranteed to last indefinitely; consider weight and handling risks, especially at high shelves. Preserve allergen, cooking, and date information when decanting.
One often-overlooked sustainable practice: design for repairability. Modular systems like IKEA SEKTION or Rev-A-Shelf allow you to replace a single pull-out or shelf without replacing the entire cabinet. That repairability is worth factoring into the initial build decision.
How your pantry connects to the rest of the kitchen
A pantry that sits at the wrong end of the kitchen forces you to walk past the stove, the island, and the sink every time you need an ingredient. That extra distance is a small friction, but it compounds across hundreds of cooking sessions into a genuine workflow problem.
The most effective placement puts the pantry between the refrigerator and the prep zone. That triangle keeps cold storage, dry storage, and prep surface within a few steps of each other, which mirrors how professional kitchens organize their mise en place. In a new build or a full kitchen remodel, this placement is worth prioritizing even if it means adjusting the cabinet layout.
For butler pantries between the kitchen and dining room, the workflow logic shifts. The butler pantry becomes a staging zone: a place to plate, store serving pieces, and keep beverages accessible without cluttering the main kitchen. A small sink, counter space, and a wine or beverage refrigerator make it genuinely functional rather than decorative.
In open-plan kitchens, the pantry door choice directly affects the visual flow of the space. A hidden door flush with the cabinetry keeps the kitchen looking clean; a glass-panel door adds depth and lets the organized interior become part of the design. Either approach works, but the decision should be made alongside the kitchen design, not after it. Reviewing a kitchen remodel timeline early helps coordinate pantry and kitchen work so both finish together.
Why visibility and behavior beat storage volume every time
The conventional pantry advice focuses on maximizing storage: more shelves, deeper cabinets, taller ceilings. That framing is wrong, and it’s why so many well-designed pantries become disorganized within a year.
Storage volume is easy to add. Visibility is harder to design for, and it’s the variable that actually determines whether the pantry gets used well. A pantry where half the contents are hidden behind other items will require constant reorganization that most households simply won’t do.
The same logic applies to lighting. A dark pantry isn’t just inconvenient; it actively hides inventory, which leads to duplicate purchases and expired food. The 2026 trend toward treating pantries as room-like spaces with layered lighting isn’t aesthetic indulgence. It’s a functional correction to decades of treating pantries as afterthoughts.
A measured layout or rendering may help reveal door conflicts, reach issues, and misplaced landing areas before ordering. Confirm whether renderings and revisions are included in the project scope; no verified company-wide workflow or service-life guarantee is established here.
Prestigioushome builds pantries that work from day one
A pantry remodel may include design, cabinetry, lighting, and door coordination. Confirm who provides each service, any subcontractor involvement, drawings, permits, and exclusions in the written agreement rather than assuming a turnkey arrangement.
Discuss pantry integration and any room addition with Prestigious Home Builders. Confirm service coverage, permitting responsibilities, rendering availability, allowances, and pricing terms for your project; a fixed quote or preconstruction renderings are not guaranteed by this article.
Request a quote and describe what you want your pantry to do; confirm any quote or consultation charges. The design conversation starts there.
Sources
If you want to read more or hand technical notes to your builder, these are the sources used in this guide.
- U.S. Access Board: Clear floor space and turning space
- U.S. Access Board: Operable parts and reach ranges
- Verify current manufacturer specifications for selected storage products. Generic pantry references and trend coverage are not substitutes for applicable codes or individualized access planning.
Plan the Next Step
Explore Kitchen Remodeling and request a consultation about your proposed construction scope. Confirm deliverables, fees, responsibilities and availability in writing.
References and Verification
References support general planning distinctions, not individual medical, financial, legal, engineering or property-specific approvals. Confirm the current documents applicable to your circumstances.