
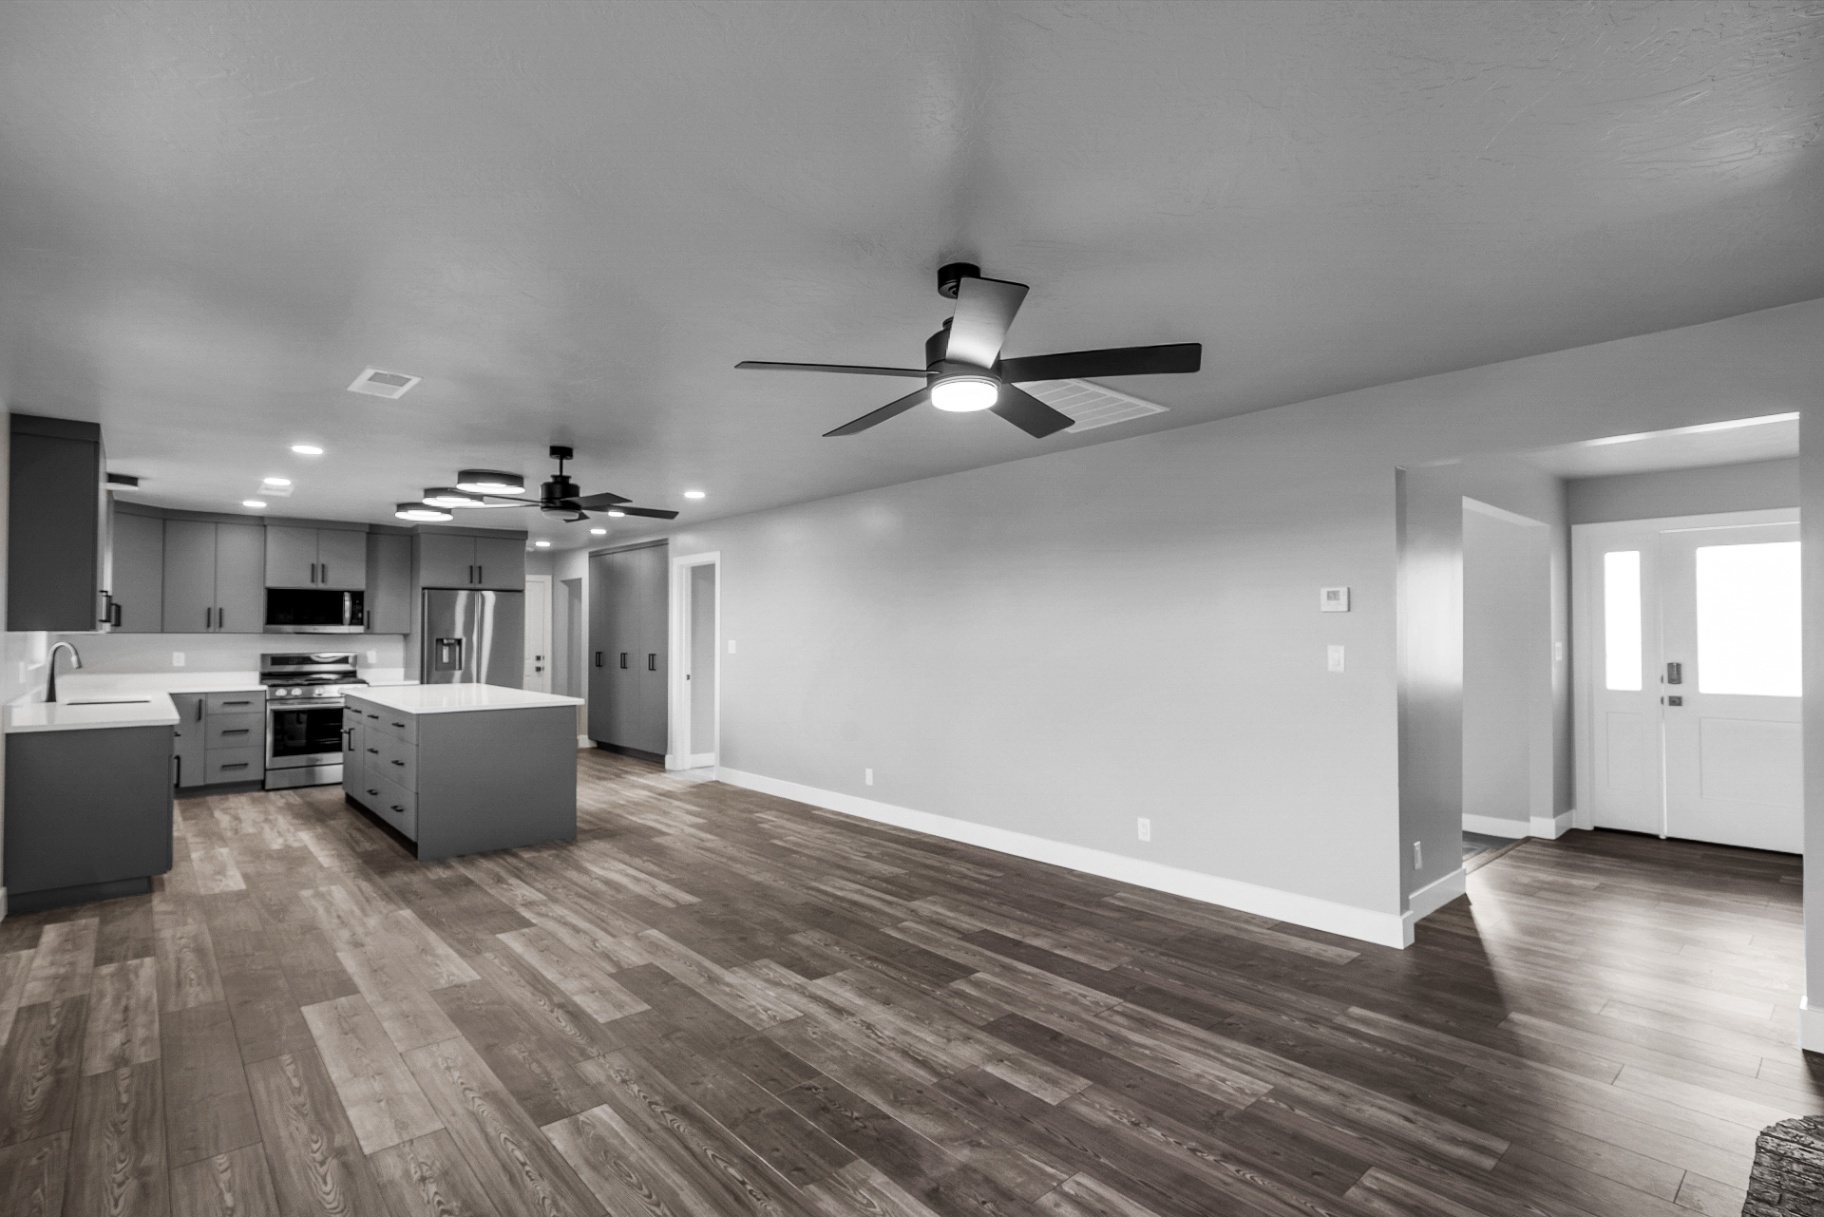

Discover the essential steps for building your dream home. Follow this complete guide through planning, design, and final inspections.
- Uncategorized
- August 20, 2026
Building a home commonly moves through planning and budgeting, design and permits, site preparation and foundation, framing and enclosure, system rough-ins, insulation and finishes, then final approvals and handover. Some activities overlap. Durations depend on the property, design, approvals, procurement and trade availability; use a builder’s project-specific schedule, not an assumed permit-to-occupancy range.
Three things to do this week if you’re getting started:
- Lock down a realistic budget, including a contingency fund for surprises.
- Confirm your lot’s soil, drainage, and utility access before you fall in love with a floor plan.
- Start talking to a builder or general contractor, even before your design is finalized.
Early site milestones include clearing and foundation stake-out, when the approved footprint is marked on the property. Their timing depends on permits, site conditions and the agreed schedule.
Key Takeaways
Home construction succeeds when homeowners make fast, informed decisions on long-lead items while their builder manages inspections and trade sequencing without idle gaps.
| Point | Details |
|---|---|
| Seven phases define the process | Planning, permits, foundation, framing, rough-in, finishes, and final inspections each build on the last. |
| Project-specific schedule | Design, approvals, site conditions, procurement and trades determine the timeline; see the timeline guide. |
| Timely decisions support scheduling | Agree selection deadlines for long-lead materials; approvals, site conditions and trade availability also affect progress. |
| Required inspections are checkpoints | Confirm the inspection sequence and obtain required approvals before concealing work or passing a required hold point. |
| Confirm management scope | Ask who coordinates design, permits, trades, inspections and handover; put responsibilities and deliverables in the agreement. |
Phase 1: Define Your Vision, Budget, and Team
Start with a realistic project budget and priorities before committing to design scope. Include a project-specific contingency for identified uncertainties such as excavation, utilities and hidden conditions; no universal allowance or frequency of overruns is established here.
Financing can shape scope early. Construction-to-permanent and construction-only structures have different conversion, refinance and completion requirements; permanent financing is not assured. Ask the lender which plans, contracts, ownership records, approvals and inspections are needed before any draw.
Vetting a builder matters as much as vetting your lender. Ask about their typical schedule, how they handle subcontractor relationships, and what warranty coverage looks like after handover. A transparent process from planning to completion tells you more about a builder than any glossy brochure.
Site selection deserves its own scrutiny: zoning restrictions, utility access, drainage patterns, and lot orientation all affect buildability. Order a survey and a soils report before you finalize design, not after.
Pro Tip: Confirm supplier lead times and selection deadlines early. The original eight-to-twelve-week example is unverified legacy guidance, not a current delivery estimate; get current written information for the selected products.
Phase 2: Design Development and Pulling Permits
Design moves through three stages: schematic design (rough layout and massing), design development (finalized rooms and systems), and construction documents (the detailed drawings your builder and permit office actually use). The more custom your home, the longer this phase runs, since highly personalized layouts require more engineering review.
Expect to need several permits before a shovel touches dirt:
- Building permit (structure and general compliance)
- Electrical, plumbing, and mechanical permits
- Grading permit for site disturbance
- Septic or utility connection approval
- Local zoning or setback variances, if applicable
An experienced builder typically files these on your behalf, and that experience matters. A builder who knows your jurisdiction’s quirks submits a cleaner package the first time, reducing the odds of a rejection that resets your timeline by weeks.
Pro Tip: Call your local building department before design is finalized to confirm setback rules, height limits, and any recent code changes. Requirements shift, and finding out after your plans are drawn is an expensive way to learn.
Phase 3: Site Preparation and Foundation Work
Site work starts with clearing, tree protection where needed, erosion control, and rough grading to establish proper drainage away from the future foundation as explained in the detailed pool construction process. Staking marks the exact footprint before excavation begins.
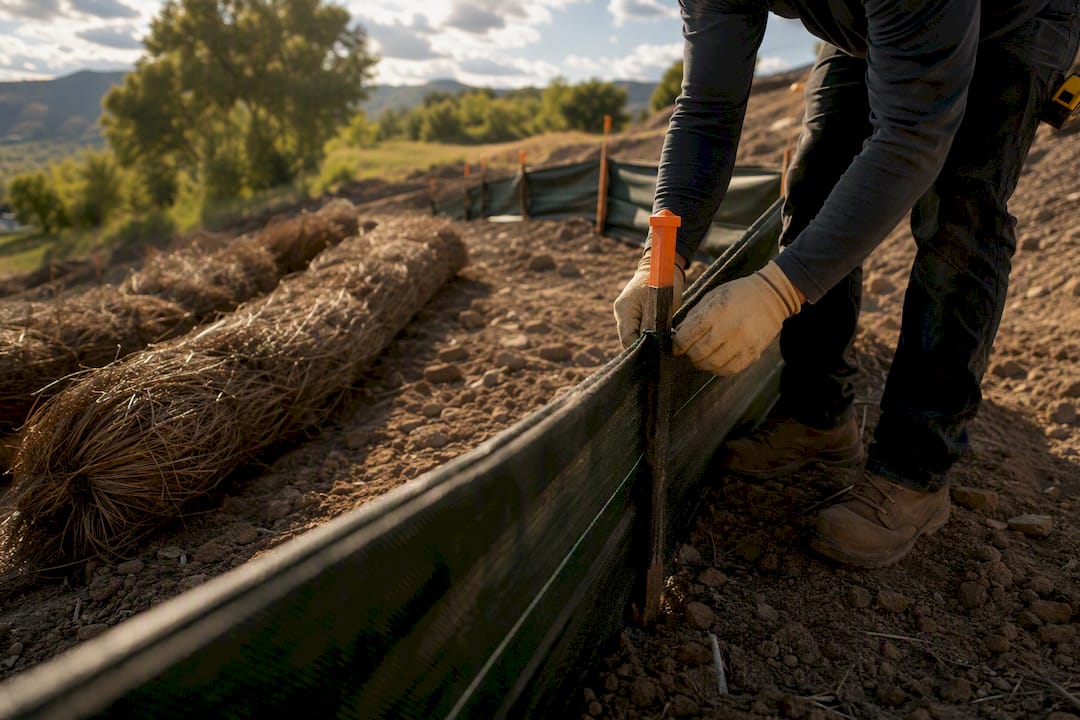
Foundation selection depends on the project’s geotechnical findings, design, moisture and site conditions. Slab, crawlspace and basement approaches have different details. Coordinate excavation, foundations, waterproofing, backfill and utility work with the approved documents, local inspection sequence and required hold points; a generic list is not a construction procedure.
Skipping a mandatory inspection isn’t just risky. It can force a builder to reopen finished work later to prove compliance, which is far more expensive than waiting a day for sign-off. Budget for excavation, grading, and utility taps here. Redfin’s data on the average cost to build a house notes these site costs typically sit outside the base construction estimate.
Phase 4: Framing, Sheathing, and Reaching Dry-In
Framing builds the skeleton: floor systems, walls, roof trusses, and sheathing over the whole structure. Crew availability and truss lead times drive how many calendar days this phase actually takes, more than the framing work itself.
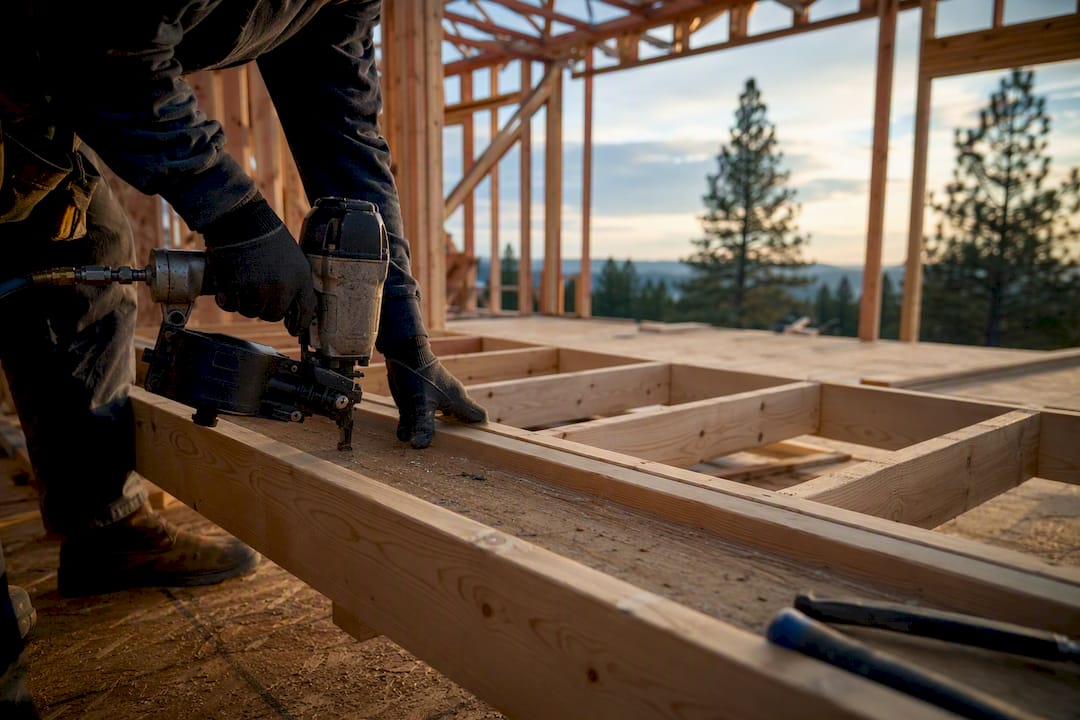
The milestone to watch for is “dried-in,” meaning the roof, windows, and exterior doors are installed. Once you hit dry-in, interior trades can work regardless of weather, which is a real turning point for schedule predictability.
Sheathing choice matters more than most homeowners realize. Plywood and OSB perform differently on cost, moisture resistance, and structural performance, and your builder should explain which fits your climate.
Pro Tip: Order windows and roofing materials as soon as your design is locked. Window lead times are one of the most common causes of a framing crew sitting idle waiting for material.
Phase 5: Rough-In of Plumbing, Electrical, and HVAC
Once the shell is dry, plumbing, electrical, HVAC, and gas lines get installed inside the walls and ceilings before insulation covers everything up. These trades often overlap on-site, but each one usually triggers its own separate inspection.
Expect inspections at these points:
- Rough framing sign-off
- Rough-in plumbing inspection
- Rough-in electrical inspection
- Mechanical inspection (HVAC and gas)
A delayed or failed inspection can affect dependent work. Confirm notice periods, readiness checks and reinspection arrangements with your builder and the serving authority.
Track inspections through your builder’s project portal or a shared calendar, and never let a trade move forward without a documented sign-off.
Pro Tip: Time your water heater and HVAC equipment delivery to land during the rough-in window. Ordering early avoids a scramble later, and ordering late can delay the inspection that depends on the equipment being in place.
Phase 6: Insulation, Drywall, and Interior Finishes
Once rough-in passes inspection, insulation goes in first, followed by another inspection, then drywall gets hung, taped, and finished. Humid climates can stretch drying times between coats, so this phase moves at different speeds depending on where you’re building.
This is also where homeowner decisions carry the most weight. Cabinets, stone countertops, specialty tile, and ordered lighting fixtures routinely delay completion when selections happen too late. Lock these in during framing or rough-in, not after drywall is already up.
Track these checkpoints as finishes come together:
- Cabinet fit and hardware alignment
- Countertop templating before fabrication
- Paint sample approval before full application
- Flooring material delivery timed to installation
Pro Tip: Coordinate cabinet and countertop ordering with approved drawings and field measurements. The source’s six-to-ten-week fabrication window is an unverified legacy example, not a supplier commitment; confirm fabrication and installation dates.
Phase 7: Final Inspections, Walkthrough, and Move-In
Your final inspection covers life-safety systems, egress, exterior grading, and code compliance across the whole structure, and it’s what unlocks your certificate of occupancy. Expect the inspector to check smoke detectors, handrails, exterior drainage, and that every prior sign-off is properly closed out.
Run your own walkthrough before or alongside this: test mechanicals, check finish quality, inspect exterior grade, and open every door and window. Document anything that needs correction on a formal punch list so nothing gets missed at handover.
Before move-in day, handle these steps in order:
- Transfer utilities into your name.
- Collect keys, appliance manuals, and warranty paperwork.
- Register major appliances for manufacturer warranty coverage.
- Confirm temporary housing if any punch-list items delay full occupancy.
Pro Tip: Ask your builder to walk you through exactly what their warranty covers versus what falls under manufacturer warranties for appliances and systems. Get it in writing at handover, not from memory later.
What Timeline and Costs Actually Look Like
Schedule length varies with the scope and starting point being measured. National start-to-completion statistics do not equal local permit-to-occupancy or design-to-handover time. Use the custom home timeline guide for duration considerations and request a schedule tied to your lot, approvals, selections and procurement.
The source’s $323,077 national figure is an unverified legacy example, not a current Utah average or Prestigious quote. Build a project budget that explicitly includes or excludes land, design, engineering, permits, utility connections, site work, construction, financing and contingency.
| Cost Category | What Drives the Range |
|---|---|
| Land and site work | Lot price, grading, and utility taps vary widely by location |
| Foundation | Soil conditions and foundation type (slab vs. basement) |
| Framing and envelope | Lumber pricing, truss lead times, sheathing choice |
| MEP systems | Trade availability and equipment specification level |
| Interior finishes | Cabinet, countertop, and fixture selections |
| Contingency | Typically budgeted as a percentage on top of the base estimate |
Labor availability affects both cost and calendar. BLS data on HVAC trades shows steady demand for skilled mechanical installers, which explains why scheduling these trades early protects your timeline. Slow homeowner decisions and subcontractor backlog remain two of the biggest levers you actually control.
How a Professional Builder Sequences the Whole Project
A general contractor’s real job is traffic control: lining up trades so plumbing rough-in doesn’t wait on framing, and inspections happen without idle days in between. That coordination is where most delays either get absorbed or turned into weeks of lost time.
A typical milestone table a builder shares with clients looks like this:
| Milestone | What It Confirms |
|---|---|
| Design sign-off | Plans finalized and ready for permit submission |
| Permit approval | Legal clearance to begin construction |
| Foundation complete | Inspection passed, ready for framing |
| Dry-in | Roof, windows, doors in place |
| Rough-in complete | MEP systems inspected and approved |
| Finishes complete | Interior ready for final walkthrough |
| Handover | Certificate of occupancy issued, keys transferred |
Design meetings and renderings can help clarify choices before construction; ask what is included. They do not guarantee fewer change orders or replace coordinated construction documents.
Pro Tip: Ask whether your builder uses a shared digital schedule you can check anytime. Faster visibility into what’s next means faster decisions from you, which is one of the few variables you fully control.
Where Homeowners Most Often Lose Time and Money
Underbudgeting site costs is the mistake that hurts most, since excavation surprises and utility hookups routinely exceed estimates. Late selections on cabinets or windows come in a close second.
If an inspection gets delayed, call your builder’s project manager first, not the inspector’s office. If a subcontractor misses a date, ask your builder how they’re escalating it rather than waiting to see if it resolves itself.
Resolve structural design and required approvals before construction, and coordinate long-lead selections with those approved decisions. Set finish deadlines in the procurement schedule.
Pro Tip: Keep a running change decision log with deadlines next to each open item. It’s the single easiest habit for avoiding mid-build change orders that blow past your contingency.
Ready to Build? Here’s What Working With Us Looks Like
Use the phase overview to discuss a project-specific scope with Prestigious Home Builders. Confirm design support, permit coordination, construction management, service area and handover duties in writing; no project count, rendering deliverable or schedule outcome is established by this article.
Ask how prospective builders coordinate local requirements and who handles corrections. Review room additions or new-home construction as appropriate; local familiarity does not guarantee approval or eliminate rework.
Agree communication arrangements, change-order procedures, warranty terms and claim contacts in the signed documents. Request a quote to discuss your property and scope; confirm any consultation or estimate charges before booking.
Sources
- Average Length of Time from Start to Completion of New Privately Owned Residential Buildings
- How long does it take to build a house in 2026? | Buildermuse
- Structural sheathing: plywood vs OSB for exterior walls | BASC (PNNL)
- Heating, Air Conditioning, and Refrigeration Mechanics and Installers | BLS
Plan the Next Step
Explore New Home Construction and request a consultation about your proposed construction scope. Confirm deliverables, fees, responsibilities and availability in writing.
References and Verification
References support general planning distinctions, not individual medical, financial, legal, engineering or property-specific approvals. Confirm the current documents applicable to your circumstances.