
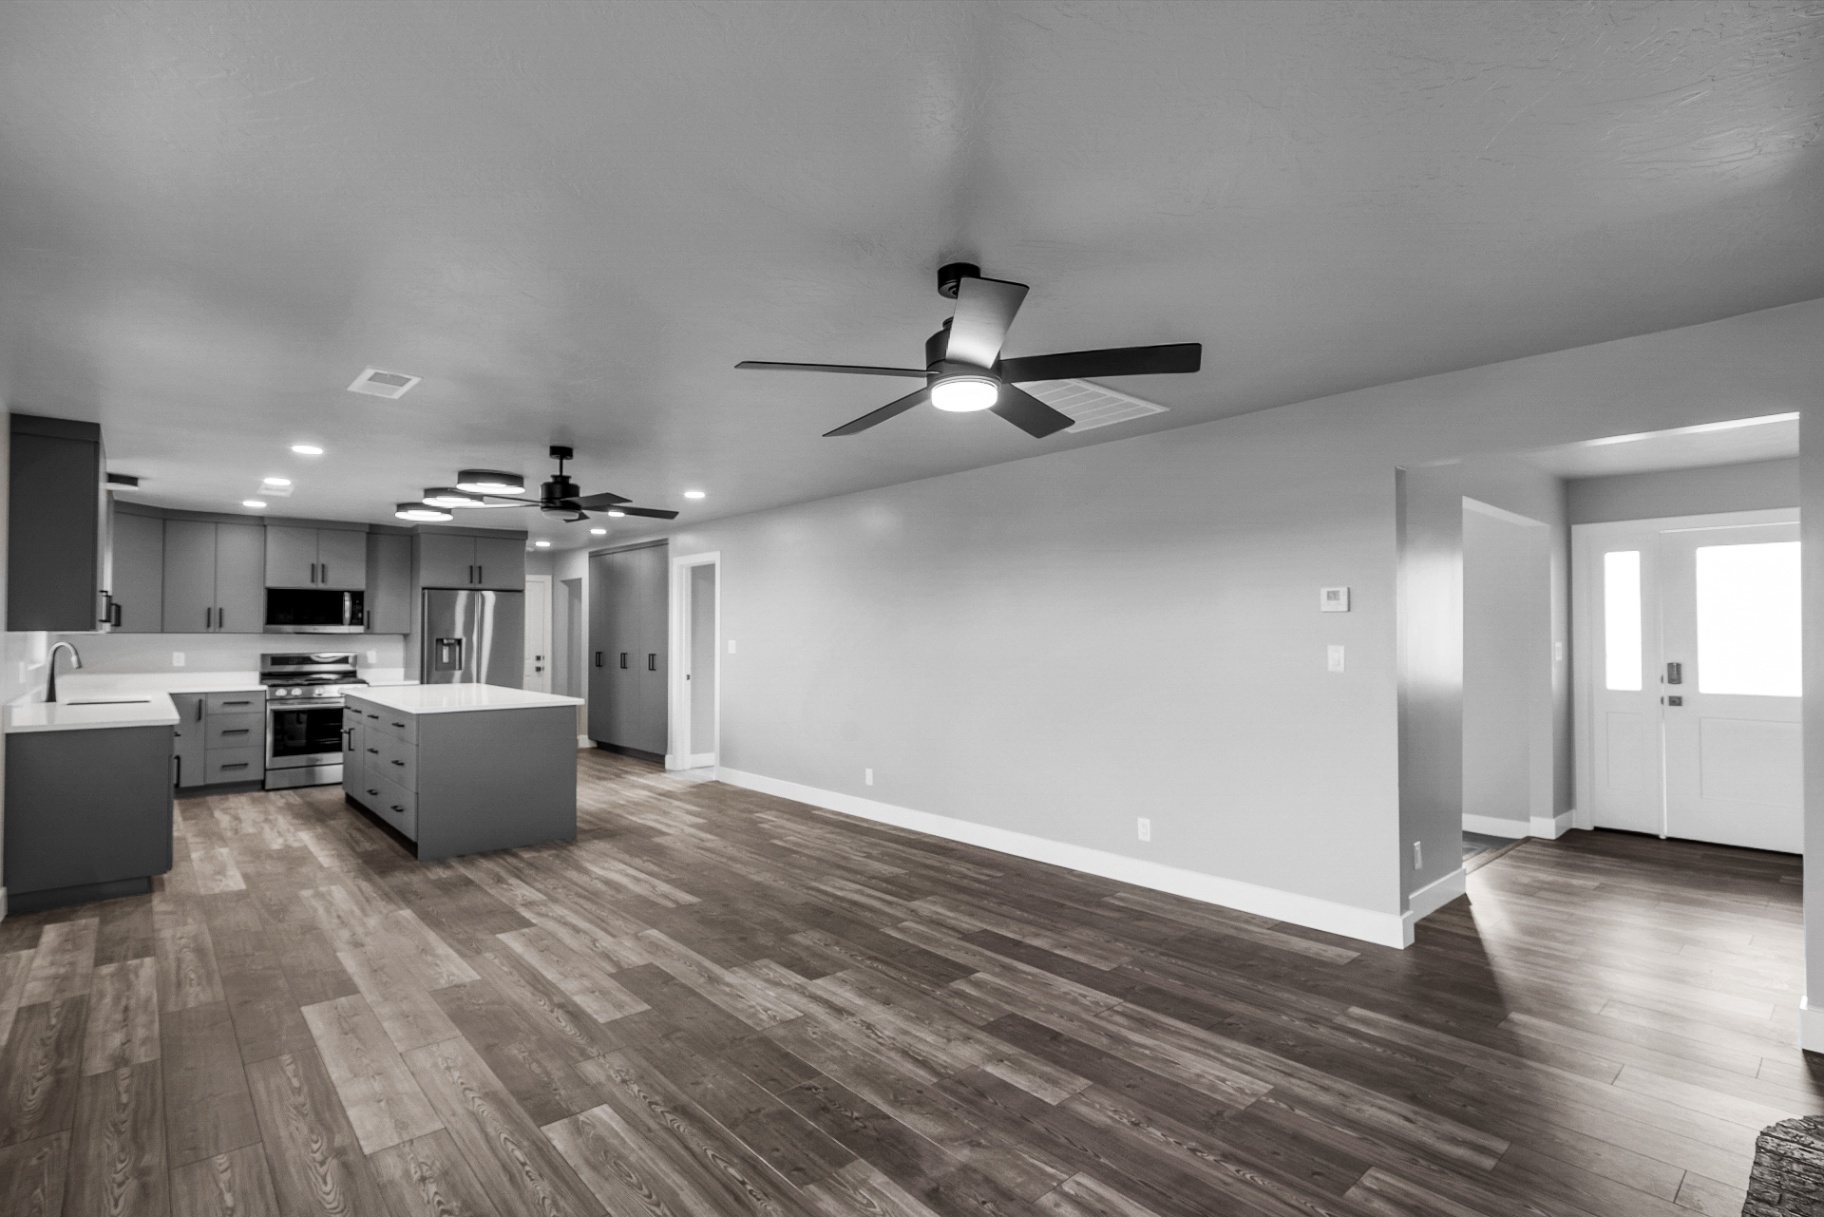
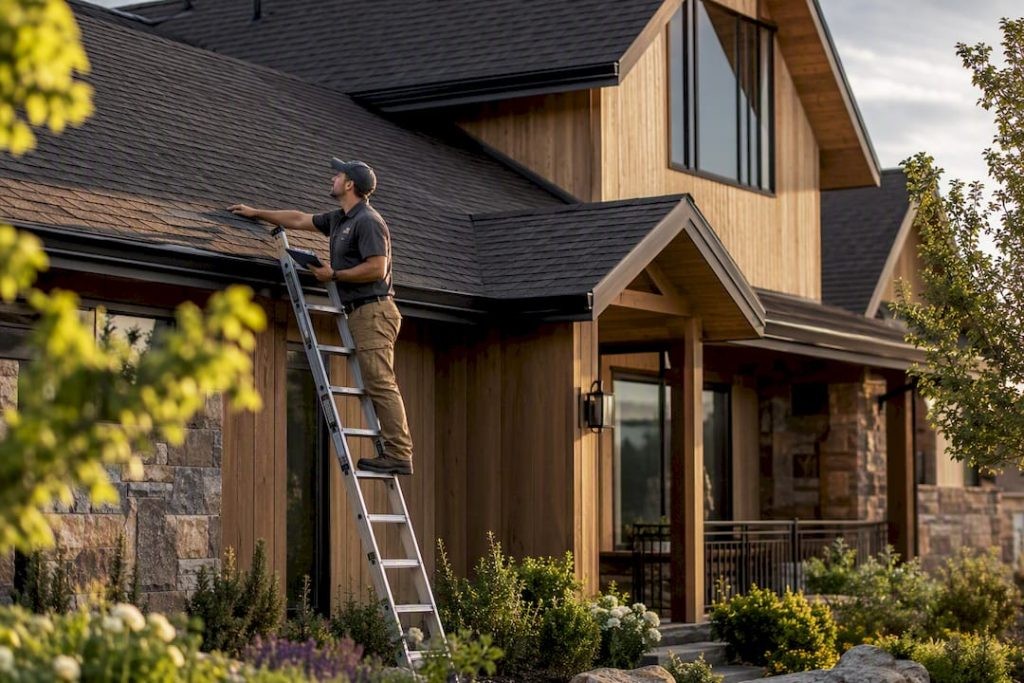
Test the safety systems first, then everything else. A high-priority action during a new-home walkthrough is checking that smoke detectors, GFCIs, and major mechanical systems appear to work, because safety and system issues are best raised early. What remedies are available after you take possession depends on your contract and any warranty. Everything cosmetic can wait a few extra minutes; a dead smoke detector or a leaking water heater cannot.
Here’s the quick-hit list for your first 10 to 15 minutes on-site:
- Test every smoke and carbon monoxide detector and confirm GFCI outlets trip properly.
- Run the HVAC system in the mode appropriate for the season and feel for airflow in every room. Avoid forcing cooling or heating in extreme outdoor temperatures, and ask the builder how to test safely.
- Flush toilets, run every faucet, and check under sinks for active leaks.
- Open and close every door and window to check alignment and locks.
- Photograph anything that looks off before you touch or move it.
Pro Tip: If you find a structural crack, active leak, or a safety hazard, stop, photograph it from three angles, and call your agent or the builder’s superintendent before you leave the property. Don’t wait until the walkthrough is “over” to report it.
Key Takeaways
A thorough new home walkthrough checklist prioritizes safety and system tests first, documents observed defects with photos and written notes, and asks for the builder’s written acknowledgment.
| Point | Details |
|---|---|
| Test safety systems first | Check smoke detectors, GFCIs, and HVAC before scanning for cosmetic flaws. |
| Know your timing windows | Ask your builder when walkthroughs are scheduled under your contract. Some buyers do a blue-tape walkthrough well before closing and a final walkthrough shortly before closing. |
| Document everything | Pair blue tape marks with labeled, timestamped photos for a defensible punch list. |
| Ask for written acknowledgment | Ask the builder to sign or email confirmation of punch-list items and any agreed timeline. |
| Escalate unresolved items | Ask your agent, attorney or lender what options your contract and loan allow if repairs aren’t finished, such as a holdback or a closing delay. |
Ready to fix what your walkthrough uncovers or plan a project of your own? Request a quote from Prestigious Home Builders for remodeling, additions, or energy upgrades across Washington and Iron Counties, Utah.
What Is a Blue-Tape Walkthrough, and When Should You Schedule Each One?
A blue-tape walkthrough is the new-construction inspection stage where you and the builder walk the finished home together, marking cosmetic and functional flaws with blue painter’s tape so the builder can compile a formal punch list. A final walkthrough is a separate, later step, often scheduled shortly before closing or possession, where you confirm that agreed items were completed and that nothing new was damaged. Timing and format vary by contract and builder.
Timing changes what you can accomplish at each stage:
- Blue-tape walkthrough: often happens some time before closing or possession, while the builder may still have crews on site. Scheduling is up to the builder and the contract.
- Final walkthrough: often happens shortly before closing or possession and may take an hour or more, per general guidance. It leaves little room for anything beyond verification.
| Aspect | Blue-Tape Walkthrough | Final Walkthrough |
|---|---|---|
| Timing | Often earlier, per builder and contract | Often shortly before closing or possession |
| Purpose | Identify and tag defects | Confirm repairs are complete |
| Builder flexibility | Often more time to schedule repairs | Often less time |
Pro Tip: Push for your blue-tape walkthrough as early as the builder allows. More time between tagging an item and your closing or possession date may give the builder more room to schedule repairs, though the outcome is not guaranteed.
How Do You Prepare for the Walkthrough?
Show up organized and you’ll catch more, argue less, and leave with a punch list the builder can’t dismiss. Bring your purchase agreement, the selections sheet listing every upgrade you paid for, your builder’s direct contact, any prior inspection reports, and warranty paperwork if it’s already been issued.
Pack a physical kit too:
- Flashlight (attics and under-sink cabinets are darker than you think)
- Tape measure and a small level
- Phone or camera with plenty of storage
- Clipboard, pen, and printed checklist
- Blue painter’s tape or bright stickers
- Outlet tester or a small lamp to check power
Before you go, review your contract specs against what you paid to upgrade, confirm who’s attending (agent, spouse, builder rep), and schedule during daylight. Agree with the builder on enough time for the home’s size and the review scope; no fixed duration applies. As Prestigious Home Builders notes in its custom-home guidance, rushing this step can lead to missed items, so allow enough time.
Pro Tip: Photograph your selections sheet next to the installed item, side by side, for every upgrade you paid for. That pairing is the clearest evidence you can hand a builder if something was substituted or skipped.
What Should You Check Room by Room?
This is the core of your new home walkthrough checklist, and the order matters. Work from the outside in, and from structural to cosmetic, so you don’t burn daylight on paint touch-ups before checking the roof.
1. Exterior and site. Look at grading (water should slope away from the foundation), gutters, downspouts, siding, flashing, and driveway or walkway concrete for cracks. Note any landscaping promised in your contract that hasn’t been installed.
2. Roof and attic. From the ground, scan the roof covering for missing or misaligned shingles. In the attic, check insulation depth, ventilation, and look for daylight coming through the roof deck, a sign of a gap in the covering.
3. Garage and doors/windows. Test the garage door opener and its safety sensors. Open and close every exterior and interior door, checking for square alignment, working locks, and intact weatherstripping. Screens should be present and undamaged.
4. Interior finishes. Run your hand along walls and ceilings for uneven texture, check floors for scratches or gaps, inspect trim and paint lines, and verify tile grout is consistent. Cabinet doors should sit flush, and countertop seams should be tight.
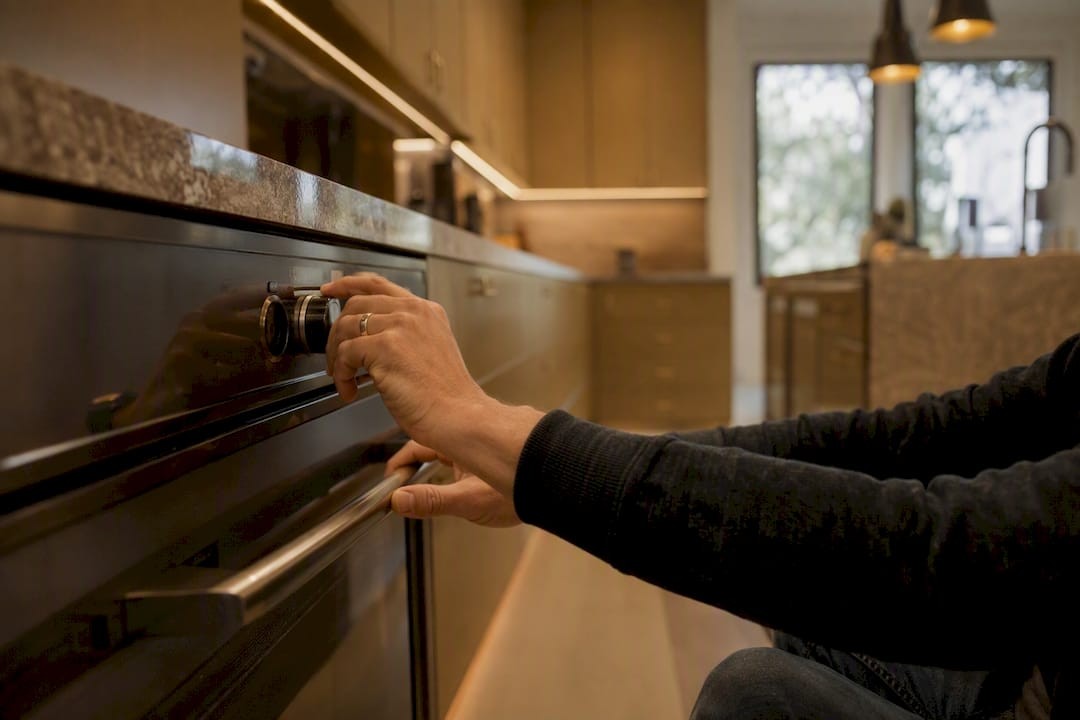
5. Kitchen and laundry. Run every appliance through a cycle if possible. Check the dishwasher for proper drainage, run the garbage disposal, and confirm the range or oven actually heats.
6. Bathrooms. Test faucets and check water pressure, flush every toilet, run showers and check caulking around tubs, and confirm exhaust fans vent properly.
7. Plumbing and water heater. Run every faucet simultaneously if you can, look under every sink for moisture, and locate and label the main shutoff along with the water heater’s shutoff.
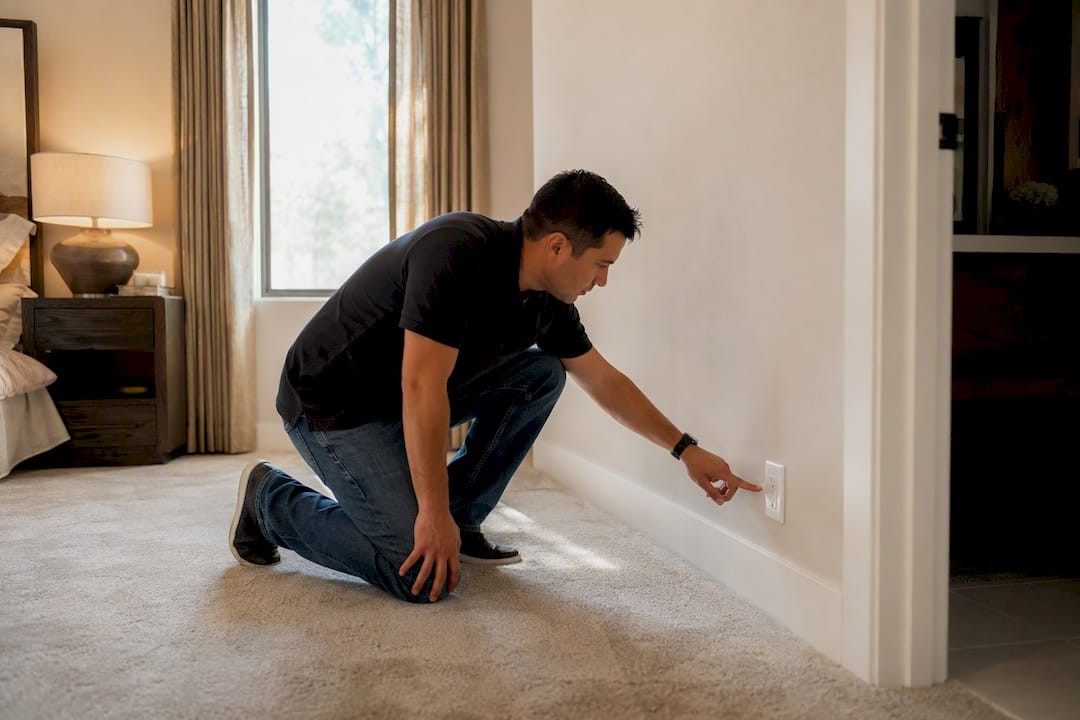
8. Electrical and safety. Test outlets room by room, trip every GFCI, confirm breaker labels match actual rooms, and verify every smoke and CO detector chirps on test.
9. HVAC and mechanical. Run heating and cooling and confirm airflow reaches every room, not just the ones near the unit. Check filters, test the thermostat’s response time, and trace condensate line routing.
10. Attics, basements, and crawlspaces. Look for moisture staining, pest evidence, insulation gaps, and anything that looks like structural movement, such as cracked framing or sagging joists.
InterNACHI’s home inspection materials treat items such as active leaks, structural movement and safety hazards as significant. Putting them at the top of your punch list is a sensible way to prioritize them. InterNACHI’s Standards of Practice describe a visual, non-invasive home inspection reporting material defects observed on the day, and are not a rule for builders or buyers. Buyers on new-construction walkthroughs can find many cosmetic items, so prioritize in this order: structural, safety, systems, then cosmetic.
When you photograph a defect, frame it three ways: a wide shot showing the room or fixture location, a medium shot showing the specific flaw, and a close-up with something for scale, like a tape measure or a coin. That sequence gives you a defensible record if the builder later questions the item’s severity.
Pro Tip: Checking windows and doors for energy performance matters as much as checking for scratches. If your contract specified ENERGY STAR-rated windows, verify the certification labels are still on the glass before the installer removes them. A buying guide for interior doors is worth a look if you want to understand what proper seals and hardware should feel like when you test them.
How Do You Mark, Document, and Submit the Punch List?
Turning what you noticed into something the builder must act on takes a specific sequence. Skip a step and your punch list becomes a suggestion instead of a commitment.
- Mark the item with blue tape or a bright sticker directly on the defect.
- Photograph it and save the file with a name that includes the room and issue (e.g., “MasterBath_GroutGap_01”).
- Write a short, specific description: what’s wrong, not just “fix this.”
- Note the exact location: room, wall, or fixture.
- Reference the contract or selections sheet if the item involves a paid upgrade.
- Assign a priority: safety, structural, system, or cosmetic.
A usable punch-list entry needs five fields: location, description, priority, photo filename, and requested completion date. Templates built for this exact workflow already organize entries this way, which saves you from building a format from scratch.
- Hand the builder a physical or emailed copy before you leave the site.
- Ask for a signature or email confirmation acknowledging receipt.
- Agree on a completion timeline in writing, not verbally.
Pro Tip: Timestamp every photo automatically through your phone’s camera settings, and back up the full folder to cloud storage the same day. If a dispute drags into your warranty period, dated evidence is worth far more than memory. Keep a written punch list and review the custom-home planning process when discussing handover documentation.
What Happens After the Walkthrough, and What About Closing Day?
Builder response times, repair timing and what happens before or after closing depend on your contract, your builder’s process and, where applicable, any warranty. Ask in writing how your builder handles punch-list items and warranty requests. The legacy article cited a 30 to 90 day follow-up window for larger items. That is an unverified example and not a standard. Warranty coverage varies, so read your written warranty.
If items remain unresolved close to your closing date, ask your agent, attorney or lender what your contract and loan allow. Options that are sometimes used, depending on the parties and contract, include:
- Delaying closing until agreed repairs are complete.
- Requesting an escrow holdback, where funds are reserved until the fix is verified.
- Getting a written, signed agreement specifying the repair and its deadline.
None of these is guaranteed, and the builder, seller and lender must generally agree.
On closing day itself, confirm every agreed repair is actually done, record final utility and meter readings, gather possession documents, and collect warranty manuals and paperwork for every major system. If anything is still outstanding, put it in writing and raise it with your agent or attorney before you sign. Verbal promises are harder to enforce than written ones, but enforceability depends on your contract.
When Should You Hire an Independent Inspector?
Bringing in a licensed inspector alongside your own walkthrough makes sense in specific situations, not every one.
- The home is a custom build with unusual structural or mechanical complexity.
- You noticed signs of settling, moisture, or framing issues you can’t fully assess yourself.
- You want an independent opinion on the home. Inspection fees vary, so get a written quote.
- The builder resists a second walkthrough or seems reluctant to document agreed fixes.
Some independent inspectors follow standards such as InterNACHI’s Standards of Practice, which describe a non-invasive, visual inspection of accessible areas of systems such as roofing, foundations, electrical, plumbing and HVAC. A written report from a third party can be useful documentation, but how it is treated in a dispute or warranty claim depends on your contract and any warranty terms. Confirm that your inspector is licensed or credentialed as required in Utah.
Pro Tip: Ask your builder what access and timing your contract allows for an independent inspector. Some buyers schedule the inspection between the blue-tape and final walkthroughs so the builder has time to respond, but the right timing depends on your situation.
A Builder’s View on Getting Repairs Done Faster
Clear communication helps. Separating defects from preference changes and keeping a written record can make follow-up smoother. Safety and structural concerns should be raised promptly, and how and when they are addressed depends on your contract, the builder and local requirements. Cosmetic items may be scheduled after possession if you get a written date, but the builder is not required to agree unless your contract says so. Ask for receipts and warranty documentation on major repairs, and request a re-inspection walkthrough rather than relying on a phone call as proof the work is done.
Frequently Asked Questions
What is a blue-tape walkthrough in new construction?
It’s the stage where you and the builder mark cosmetic and functional defects with blue painter’s tape, typically weeks before closing, to generate a formal punch list for repairs.
How long before closing should the final walkthrough happen?
Final walkthroughs often happen shortly before closing or possession, and timing varies by contract. Plan at least an hour, and ask your builder or agent about scheduling.
What should I check first during a new home walkthrough checklist?
Start with safety items: smoke and CO detectors, GFCI outlets, and whether the HVAC system actually heats and cools every room.
Do I need an independent inspector if the builder already did a blue-tape walkthrough?
Consider an independent inspection based on the home, agreed scope and your concerns. A qualified inspector may identify visible issues but cannot guarantee that all defects will be found.
What happens if the builder doesn’t fix everything before closing?
Ask your agent, attorney or lender what your contract allows. Options sometimes used include an escrow holdback, a closing delay, or a signed written agreement with a specific repair deadline, but none is guaranteed. Get anything agreed in writing before you sign.
Sources
- Final Walk-Through Checklist: What To Look For | Zillow
- Blue tape walk-through: definition and checklist | Rocket Mortgage
- 35 Things to Add to Your New Construction Walkthrough Checklist | Redfin
- New Construction Punch List Template (Free 2026) | RealEstateLedger
References and Verification
These references support the planning distinctions above, not a project-specific approval, incentive award or financial outcome. Verify the rules and documents applicable to your address, installation date and agreement.
Plan the Next Step
Explore New Home Construction and request a consultation for your proposed construction scope.