
Design guidance, not code or accessibility certification: NKBA dimensions and room-size examples below are planning guidance, not universal legal minimums. Appliance safety clearances and ventilation depend on manufacturer installation instructions. Building, mechanical and electrical requirements depend on the jurisdiction’s adopted codes and local building authority. Accessibility standards apply according to property and scope; confirm applicability and user-specific needs with a qualified designer. Photos are editorial illustrations, not proof of compliance.
The right kitchen layout comes down to three things: your room’s actual width, what infrastructure you can’t move (waste stack, gas line, exhaust vent), and whether your aisles hit clearances that can reduce congestion while cooking. Most homes fit best into one of nine layout families, ranging from a single-wall run to a full U-shape with an island. Read on for what each layout does well, then use the planning checklist below to match your space to the right one.
TL;DR:
- Most kitchens are limited by fixed infrastructure such as waste stacks, gas lines, and vents, which influence layout options and cost.
- As rough design examples, spaces under 100 square feet may favor galley or one-wall layouts; kitchens over 12 feet wide may allow more options, but usable clearances determine fit.
- NKBA design guidance recommends work aisles of at least 42 inches for one cook and 48 inches for multiple cooks; these are not universal code or accessibility requirements.
- Plumbing, electrical, and ventilation costs can significantly increase with layout complexity, especially when moving infrastructure or creating open-concept designs.
- Accurate measurements and validation of layout feasibility, including infrastructure support and clearance, are essential before ordering cabinets or demolishing walls.
Kitchen Layout Ideas: 9 Types and What Each One Delivers
Every kitchen layout is really just a variation on how you arrange three zones: storage, prep, and cooking, around the room’s fixed points. Some configurations pack more function into less square footage. Others need extra width but reward you with better traffic flow when more than one person is cooking. Here’s how the nine common kitchen layout types stack up.
One-wall kitchen. Everything, cabinets, sink, range, fridge, lines up along a single wall. This is the default for studio apartments, ADUs, and small casitas where floor space is at a premium. The tradeoff is obvious: no real work triangle, so you’re constantly walking back and forth for tasks that would otherwise happen in a tight loop. Consider the fridge and sink at opposite ends with the cooktop centered only if landing space and appliance instructions allow. A rolling cart or narrow island also needs suitable clearance; 42 inches is a single-cook work-aisle design recommendation, not a universal minimum.
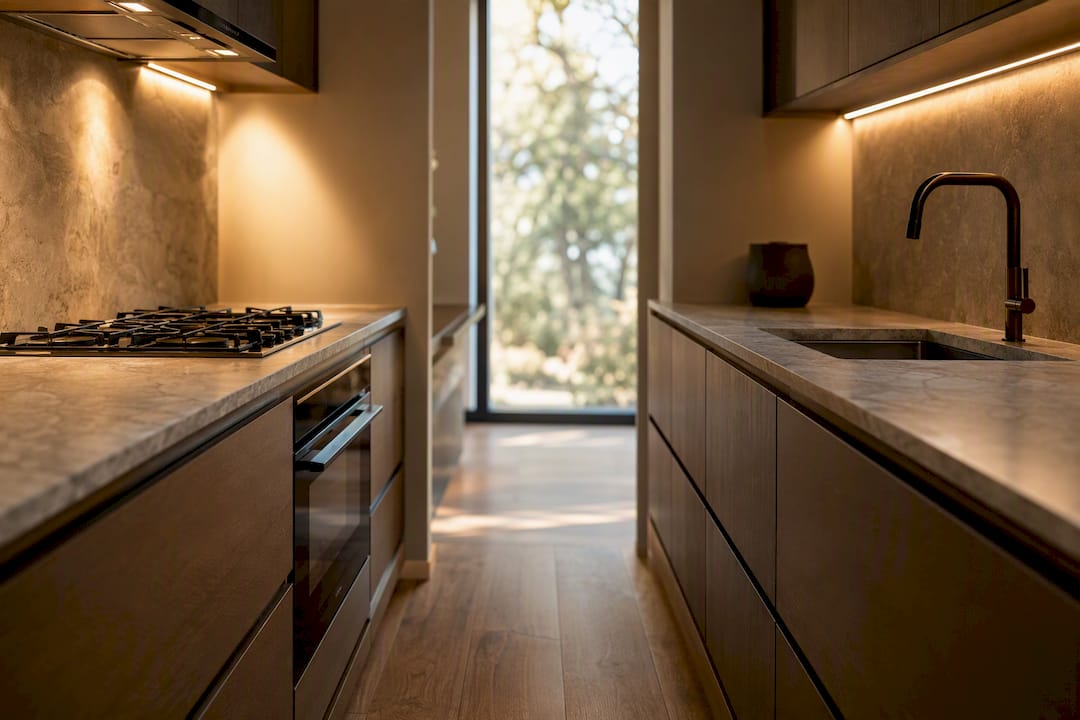
Galley kitchen. Two parallel runs facing each other, historically the layout of choice on ships and in restaurant kitchens because it’s brutally efficient. The original article suggested corridors roughly 7 to 9 feet wide for galley layouts, but that rough design example does not establish usable aisle width. Subtract cabinet and appliance depths, then check open doors and occupied work areas. Put the sink and cooktop on one run, the fridge and pantry on the other, so the busiest zone doesn’t force people to cross the aisle constantly.
L-shaped kitchen. Two perpendicular runs meeting at a corner, leaving the rest of the room open for a table or island. This is probably the most common layout in mid-size American homes because it’s flexible: you get a natural corner for the sink, room for a peninsula if you want one, and potentially efficient circulation. The main pitfall is the corner cabinet, which becomes a black hole for pans unless you invest in a lazy Susan or pull-out corner unit.
U-shaped kitchen. Three walls of cabinetry and appliances wrapping around the cook. This is the layout that gets closest to a textbook work triangle because everything sits within a few steps. The pros: maximum counter and storage space, tight efficient work zones. The cons: it can feel closed off from the rest of the house, and if the U is too narrow, you’ll bump elbows opening the fridge while someone’s at the stove. The original article’s roughly eight-foot width is a design example, not a minimum: cabinet depths, projections and required access determine whether a U-shape works.
G-shaped kitchen. A U-shape with a fourth partial wall or peninsula added, often used to create a breakfast bar or extra prep surface. It’s the layout with the most built-in storage and counter space of any option here, but it also traps the room the most. G-shapes often suit larger kitchens; twelve feet or more in one dimension is only a rough design example, not proof that the aisles and entry will work.
Island kitchen. Any layout, L, U, or one-wall, with a freestanding island added in the middle. Islands are less a layout family and more an upgrade you bolt onto one of the others, provided the room has the width. About thirteen feet of room width is a rough island-planning example, not a code threshold. Fit depends on perimeter cabinet depth, island size, appliance projections and usable aisles on both sides. Use the island for prep or seating, but keep the cooktop off it unless you’ve planned for ventilation and gas or electrical runs to the center of the room, which adds real cost.
Peninsula kitchen. An island that’s attached to a wall or run on one end instead of floating free. Peninsulas are the practical answer for kitchens that want island-style seating and extra counter space but don’t have the clearance for a true island on all four sides. They may cost less if existing services can be reused, but plumbing and electrical routing still depend on the proposed scope.
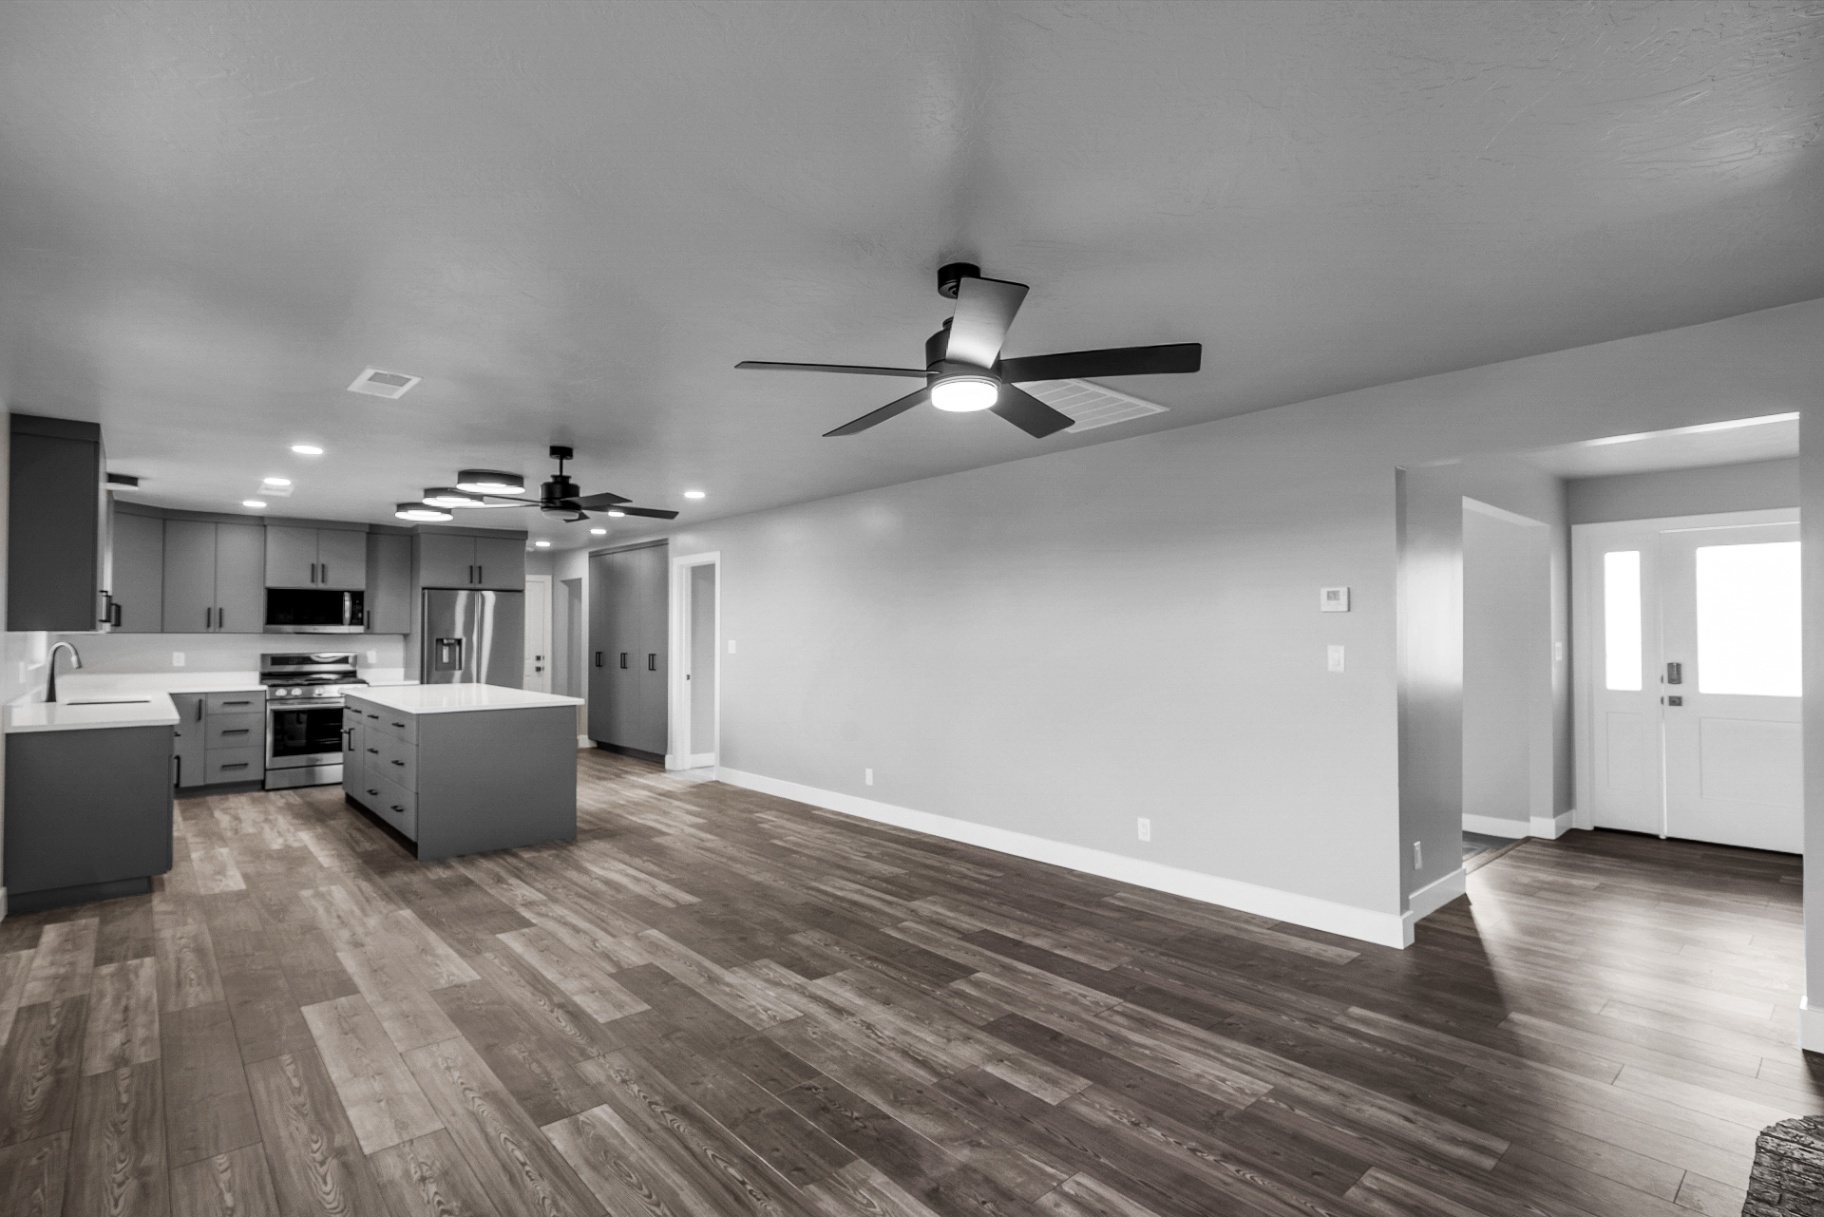
Open-concept kitchen. Any of the above layouts with the walls to the dining or living room removed, so the kitchen visually and physically merges with the rest of the main floor. An open concept kitchen layout tends to rely on the island or peninsula as the visual boundary between “kitchen” and “living space,” and it puts more pressure on storage since you lose upper cabinets on what used to be an interior wall.
Broken U or split-run layout. A U-shape with a gap, usually a walkway to a mudroom, deck, or pantry, breaking one leg of the U. This shows up a lot in additions and remodels where a builder has to work around an existing door or window that can’t move. It sacrifices some counter run but solves circulation problems a solid U-shape would create in an awkward floor plan.
Pro Tip: Before you fall in love with a Pinterest photo of a G-shaped kitchen, tape the layout’s actual dimensions on your floor with painter’s tape. Walk through it with the fridge door “open” and a dish towel over your shoulder. Cramped is obvious in real life in a way it never is on paper.
Matching Your Kitchen Layout to Your Space and How You Cook
Size and habits decide more of this than style preference does. A layout that photographs beautifully can still make dinner miserable if it doesn’t match your room’s dimensions or how many people actually cook in it.
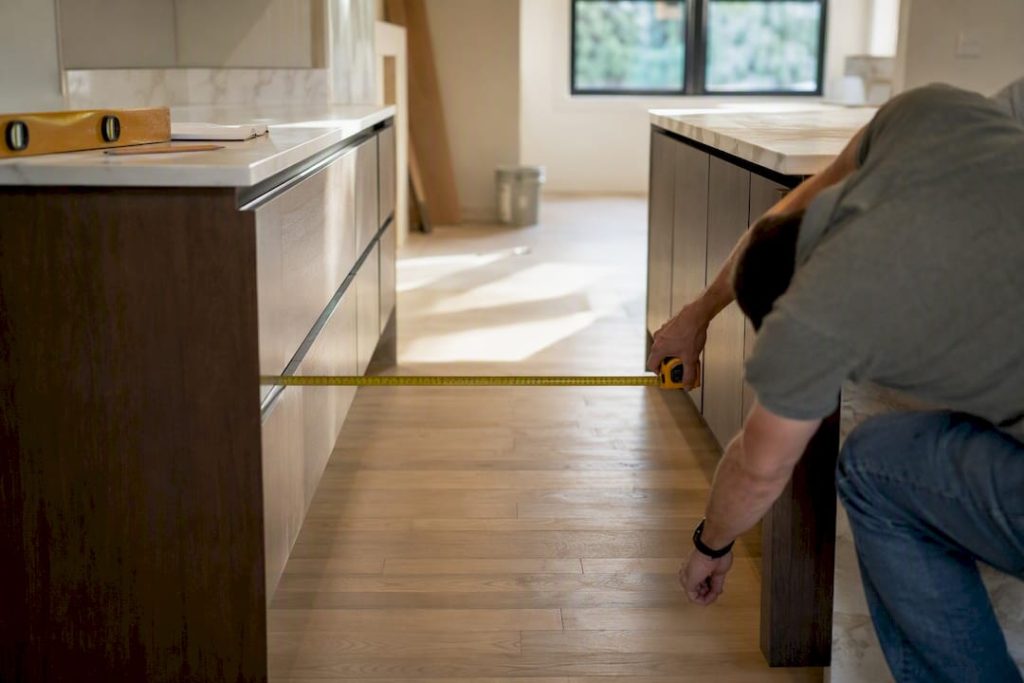
Start with the aisle math, because it strongly influences the plan. NKBA recommends work aisles of at least 42 inches for one cook and 48 inches for multiple cooks. These are design recommendations, not universal building-code or accessibility minimums. The original 11-foot-room example omitted perimeter cabinetry: a 4-foot island plus two 42-inch aisles already uses 11 feet before any perimeter cabinets or projections. Measure the full room, subtract those depths, and check doors, seating and traffic before choosing an island or peninsula.
As a rough design example, for small kitchens under roughly 100 square feet, a galley or one-wall layout usually beats forcing in an L-shape that leaves an awkward dead corner. Galley kitchens in particular reward compact spaces because both walls stay productive; there’s no wasted floor space in the middle. If you’ve got a narrow footprint but still want an island, a peninsula usually fits better than trying to squeeze in a floating island that fails the aisle-width test.
Larger kitchens open up real options. At roughly 12 to 13 feet of width or more, U-shapes, G-shapes and islands may become options, depending on cabinet depths and clearances, and the decision shifts from “what fits” to “what matches how you live.” A household with one primary cook and occasional helpers does fine with a classic L or U and a tight, efficient work triangle. A household where two or three people regularly cook together, or where the kitchen doubles as party central, benefits more from an island or peninsula that creates a secondary work zone and lets people flow around each other instead of through a single choke point.
Open-plan layouts trade some acoustic and visual privacy for connection. If you want to see the living room while you cook, or you host often and don’t want to be isolated behind a wall, an open kitchen layout makes sense. If you’d rather contain mess, noise, and smells, an enclosed U or G-shape still has a strong case, though heating and cooling performance depends on the building envelope, HVAC design and zoning rather than openness alone.
How to Plan Your Kitchen Layout Step by Step
Getting the sequence wrong can lead to rework, once in the original build and again when you realize the fridge door hits the pantry. Work through these steps in order, not the reverse.
Lock down what can’t move. Identify the waste stack, gas line, and exhaust vent location first. These are usually the biggest cost drivers if you try to relocate them, and in practice the waste stack or vent often decides where the sink or range ends up, not the other way around. Note window and door locations too; they constrain where tall cabinets and appliances can go.
Draw your aisles before you draw your cabinets. Mark NKBA’s recommended 42-inch single-cook or 48-inch multiple-cook work aisles on your floor plan, then check operation with appliance doors open. The original roughly 24-inch dishwasher-door projection is only an example; use the selected model’s dimensions and installation instructions, not just its closed footprint.
Place the sink, range, and refrigerator, then check the triangle. NKBA’s work-triangle design guidance recommends legs between 4 and 9 feet and a total no greater than 26 feet. These are planning recommendations, not building-code requirements. If your layout leans on zones instead of a strict triangle, verify instead that prep, cook, and cleanup zones don’t force cross traffic through a main walkway.
Confirm landing space, then finalize cabinetry. As NKBA design guidance, plan at least 24 inches of counter on one side of the sink and 18 on the other, 15 inches on one side of the cooktop and 12 on the other, and 15 inches of refrigerator landing space. These figures are not appliance safety clearances or universal code requirements; confirm the guideline’s configuration details and each appliance manufacturer’s installation instructions. Cabinetry, finishes, and hardware come last, once the functional bones of the layout are locked.
Pro Tip: Print your floor plan at actual scale, or use painter’s tape on the real floor, and walk the layout with a full dinner in your arms. If you can’t move through it holding a stack of plates, no rendering will fix that later.
Zone-Based Planning Beats the Triangle for Multi-Cook Kitchens
The classic work triangle assumes one cook moving between sink, stove, and fridge. That model breaks down fast in households where two people cook together or where the kitchen doubles as party headquarters. Designers increasingly plan around distinct zones instead, prep, cooking, cleanup, storage, and social, and let the island or peninsula act as the social zone that absorbs guests without putting them in the cook’s path.
A second sink or an undercounter beverage fridge near the island solves a real problem: it lets one person handle drinks or vegetable prep without crossing into the primary cook’s cleanup or cooking zone. This matters more in open kitchen layouts, where guests naturally drift toward whoever’s cooking.
Storage strategy matters as much as square footage of cabinetry:
- A walk-in or well-organized pantry beats scattered upper cabinets for everyday staples.
- Pull-out drawers under the cooktop outperform deep base cabinets for pots and pans.
- Appliance garages hide countertop clutter without eating into upper cabinet runs.
- Vertical dividers near the range keep sheet pans and cutting boards accessible instead of stacked.
Before finalizing, walk your zones on paper: if the path from fridge to prep counter crosses the path from range to sink more than once, redraw before you build.
Lighting and Outlet Placement by Layout
Layout dictates electrical planning more than most homeowners expect. Do not treat the original “every 4 feet” outlet spacing as a complete electrical rule. Receptacle coverage, circuit sizing, dedicated circuits and GFCI/AFCI protection depend on the jurisdiction’s adopted electrical code and the selected appliances; have a qualified electrician confirm the plan with the local building authority. Under-cabinet task lighting matters most here since a single wall run has no natural light hitting the work surface from a second angle.
Island and peninsula receptacle requirements and permitted locations vary with the adopted electrical-code edition. Have an electrician plan any required power routing and receptacles before concrete or subfloor work. For a prep sink or beverage fridge, confirm required GFCI/AFCI protection, circuit design and appliance instructions rather than assuming a particular outlet location or a separate “GFCI circuit.”
U and G-shaped kitchens benefit from layered lighting: recessed ceiling fixtures for general light, under-cabinet strips for the counter, and a statement fixture over the island or table if one exists. Corner zones in U and L-shaped layouts are the spots most often left dim in older homes, so plan an extra recessed light or two directly over corner cabinets and the sink.
As a design preference, consider switches at kitchen entrances and compatible dimmers on general lighting so the same room can go from bright task lighting to a softer setting for entertaining.
Designing a Kitchen Layout for Limited Mobility
Accessible layouts favor wider aisles and lower reach zones over any particular shape. A 60-inch clear turning space is a common accessibility planning reference, but 60 inches between counters alone does not establish an accessible kitchen. Turning geometry, approaches, door swings and obstructions also matter. NKBA’s 42-inch single-cook work aisle is design guidance, not an accessibility standard. Confirm the user’s needs and whether ADA or another accessibility standard applies to the property with the designer and local building authority.
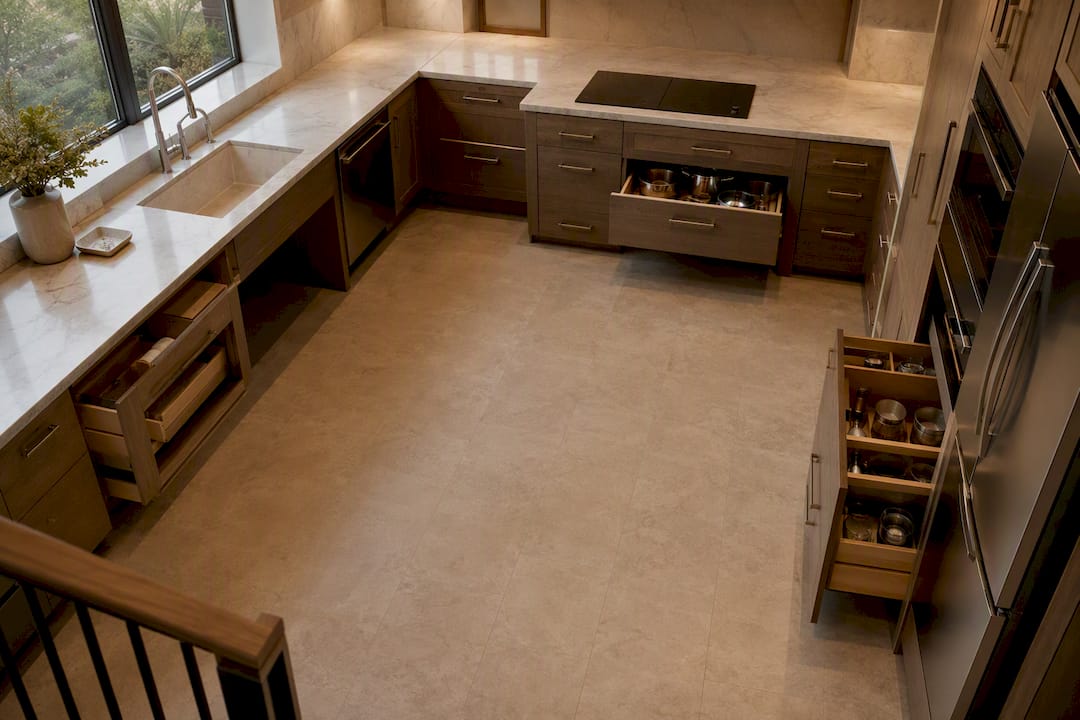
Counter heights matter as much as layout. The original 30-to-34-inch counter-height range, compared with a common 36-inch counter, is a design example, not a complete accessibility specification or a comfort guarantee. Match height, knee and toe clearance, reach ranges and protected under-sink components to the user and any applicable accessibility standard. Pull-out cutting boards and side-opening ovens (rather than doors that swing down and block wheelchair access) solve problems a standard layout doesn’t address.
Placement of the cooktop and sink also matters more here than in a kitchen planned only for standing use. Front-mounted cooktop controls can reduce reaching over hot burners; assess safe reach and unintended activation for the selected model. In addition, and a single-lever faucet reduces the grip strength needed at the sink. In an L or U-shaped kitchen, keep the primary work zone, sink, cooktop, and main prep counter, along one continuous run rather than split across two walls, so a person doesn’t have to cross the room repeatedly.
Storage should drop, too: pull-down shelving in upper cabinets and full-extension drawers instead of deep base cabinets can put everyday items within easier reach; check reach ranges and operating force with the user.
Eco-Friendly and Energy-Efficient Layout Choices
Layout affects energy use more directly than most homeowners realize. Placing the refrigerator away from heat sources and direct sunlight may reduce heat exposure, but savings are not assured. Follow the refrigerator and range manufacturers’ spacing, airflow and installation instructions; no single separation distance applies to every model.
Natural light placement ties into layout choice, too. A galley or one-wall kitchen along an exterior wall can rely on a window over the sink to cut daytime lighting needs, while an island in the center of an open kitchen layout may need supplemental task lighting, so budgeting for efficient LED fixtures there matters more.
Water efficiency connects to sink placement and plumbing runs. Keeping the water heater close to the kitchen, an easier ask in a compact one-wall or galley layout than in a sprawling G-shape, reduces the time and water wasted waiting for hot water to arrive at the tap.
Ventilation choices depend on layout, too. An island cooktop needs a ventilation approach suited to the appliance and installation; neither downdraft nor an overhead hood is automatically suitable. Capture depends on hood geometry, airflow, mounting height, duct routing and cross-drafts. Follow manufacturer instructions and confirm exhaust and any makeup-air requirements under the jurisdiction’s adopted mechanical/building code with the local building authority. If energy efficiency is a priority, a perimeter cooktop location may simplify ventilation capture, even though the island version tends to look better in photos.
What Different Kitchen Layouts Cost to Build
Layout complexity drives cost more directly than square footage alone. A one-wall or galley kitchen may simplify plumbing and electrical runs when services remain near existing locations; actual labor costs depend on the property and scope.
Islands and peninsulas add cost beyond their footprint. Running gas, electrical, and sometimes plumbing to the center of a room means either trenching a slab or running lines through a crawlspace or basement below, work that’s invisible in the finished kitchen but shows up clearly on the invoice. A peninsula, connected to an existing wall run, typically costs less than a true island because it can share service lines with the adjacent counter.
U and G-shaped layouts cost more in cabinetry and countertop material simply because there’s more linear footage to fill, but they often need less structural change if the extra walls already exist. Converting to an open-concept kitchen may involve wall removal. Determine whether the wall is load-bearing and which engineering, supports and permits are needed under the jurisdiction’s adopted code; structural costs vary and do not necessarily exceed cabinetry costs.
Moving plumbing or gas infrastructure can be a major cost driver, but the most expensive part of a kitchen remodel depends on the scope, existing conditions and selections. If budget is tight, keeping the sink and range near their existing locations and spending the savings on better cabinetry and finishes usually delivers more satisfaction than a dramatically reshaped floor plan.
Common Layout Mistakes to Check
A common layout mistake is choosing an island before confirming whether plumbing, gas and ventilation can support the proposed appliance locations. Check existing infrastructure first.
Review a dimensioned plan and mock up door swings, pantry access, aisle widths and landing space before ordering cabinets. For sequencing and ordering considerations, see the kitchen remodel timeline guide.
When budgets are tight, compare a simpler layout with better cabinetry against a more complex configuration that strains the material budget.
Where to Verify Measurements and Find Layout Inspiration
Use the NKBA Kitchen Planning Guidelines for design recommendations, not as a substitute for appliance installation instructions, applicable accessibility standards or the jurisdiction’s adopted building and electrical codes. Confirm code questions with the local building authority. For layout templates and minimum-size charts, HGTV’s kitchen layout guide is a solid reference. For visual inspiration once your layout’s decided, browse the IKEA kitchen gallery.
Ready to Build the Right Layout for Your Home
Choosing a layout on paper is one thing; checking aisle widths, plumbing runs and cabinetry against your specific home is the next step. Explore kitchen remodeling services to discuss a project-specific layout and scope.
If a wall change affects adjoining living areas, consider the broader interior remodeling scope, including structural review and any required approvals. When you are ready to discuss your room’s dimensions and goals, request a quote.