
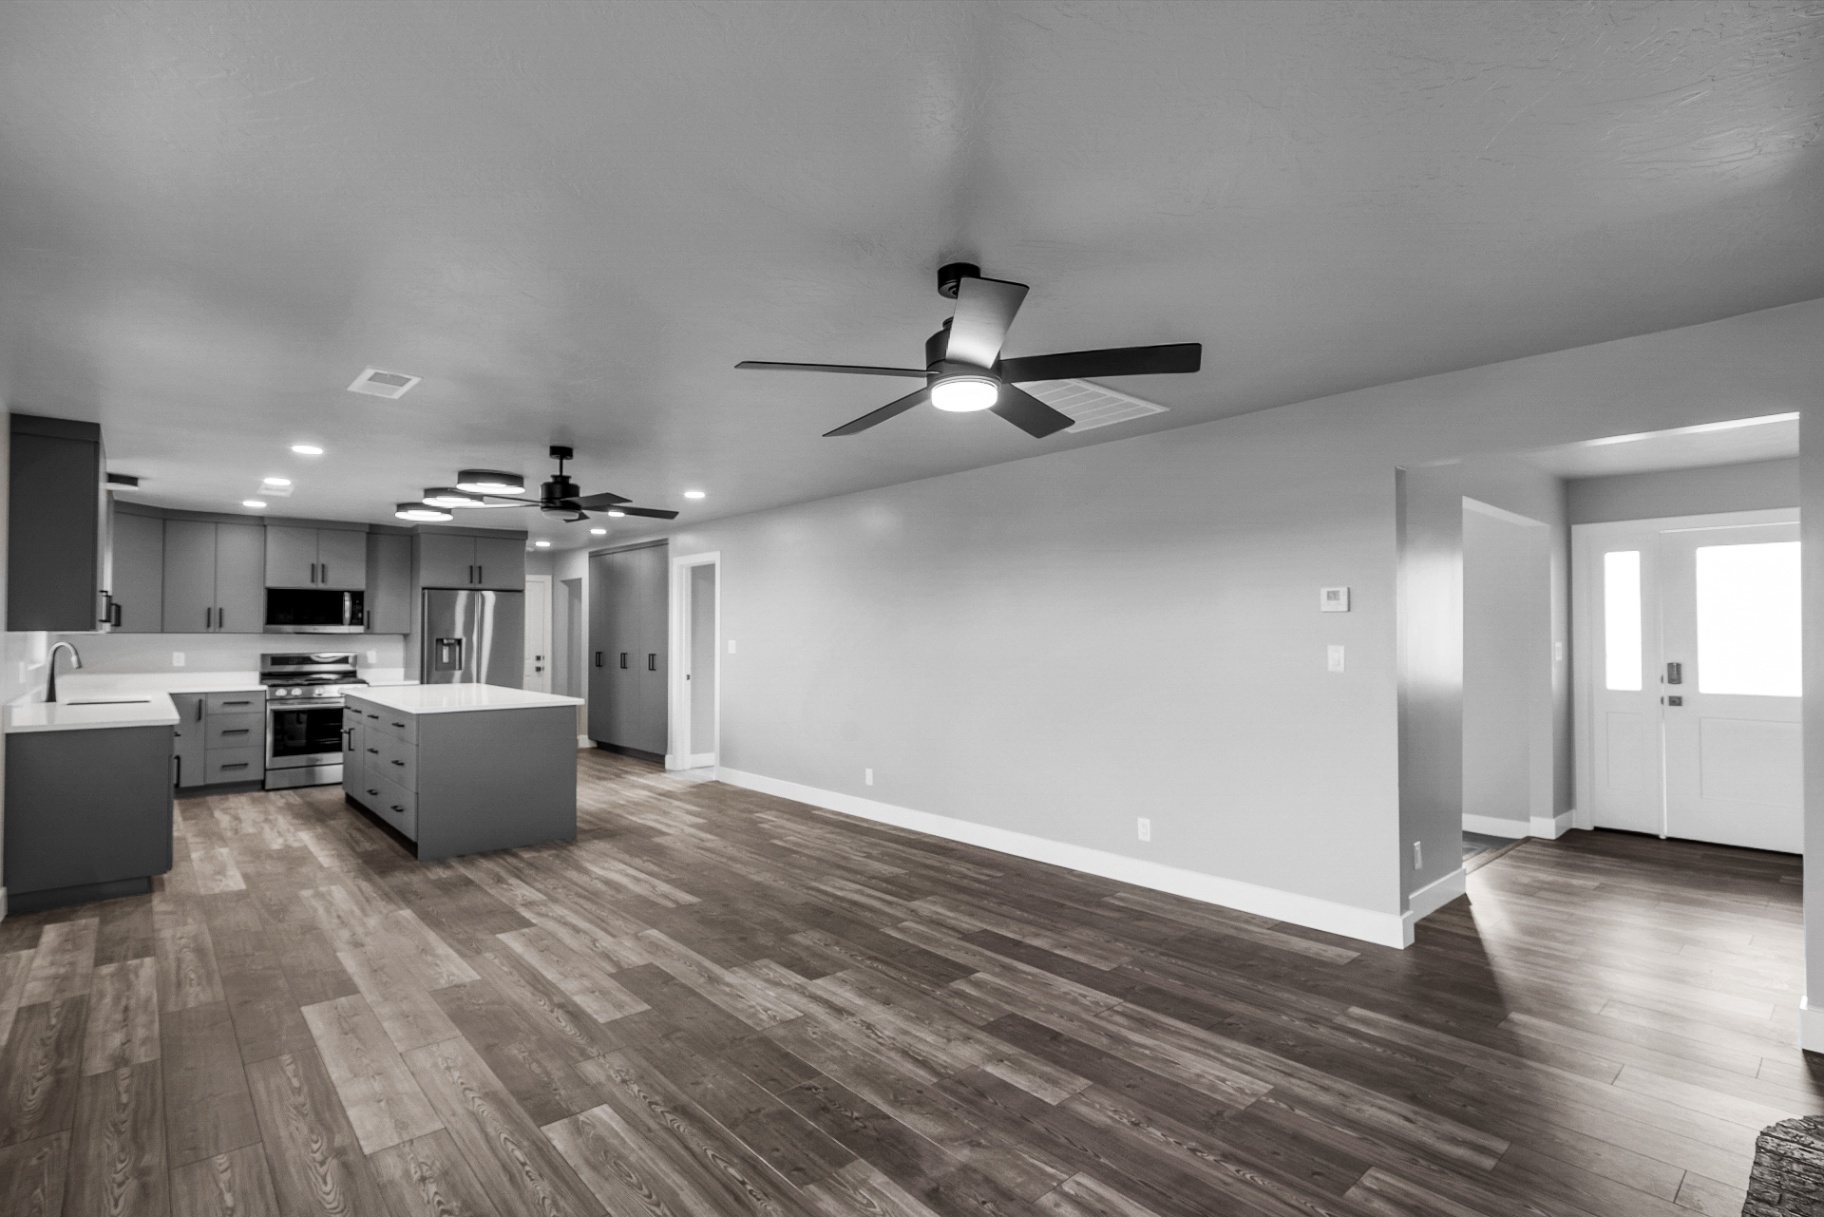
Kitchen Island Size: Dimensions, Clearances and Seating

A good kitchen island size is set by the room, not by a catalog. Most islands land between 4 by 2 feet in a small kitchen and 8 by 4 feet or more in a large one, but the number that decides whether yours works is the clear floor space around it: at least 42 inches for one cook and 48 inches when two people work at once. Start from that, subtract it from your room, and what is left is your island.
Below you will find the dimensions that work, the clearance rules behind them, how to space seating, and the details that catch homeowners late in a project: slab length, outlets and appliance depth.
TL;DR
- Work backward from clearance. Leave 42 inches of work aisle for one cook and 48 inches for two, and let the island fill what remains.
- Typical sizes: about 4 x 2 ft for compact kitchens, 6 x 3 ft for mid-size, 8 x 4 ft or larger for big rooms. A depth under 24 inches rarely fits appliances.
- For seating, give diners knee space (15 inches at 36-inch counters, 12 inches at 42-inch bars) and room behind them to pass.
- If the room cannot give you the clearances, choose a peninsula or a rolling island instead of squeezing a fixed one in.
- Mock the island up with boxes or a table for a few days before you order cabinets or stone.
Table of Contents
- Start with the room, not the island
- Standard kitchen island dimensions
- Clearance around the island
- Seating: spacing, knee room and overhang
- Questions of function: what will the island do?
- Outlets and other details to plan before cabinets arrive
- Test the size before you build
- Our perspective: how we size islands on real projects
- What an island changes about budget and scope
- Planning an island in Southern Utah?
- FAQ
- Sources
Start with the room, not the island
The most common mistake we see is picking an island first and hoping the kitchen accommodates it. Flip the order. Measure the open floor between your perimeter cabinets and appliances, then take away the aisle on each side of the island.
Here is the arithmetic for a kitchen where the perimeter run and the opposite wall leave 13 feet of open depth, with one cook:
- Convert to inches: 13 ft = 156 inches.
- Subtract a 42-inch aisle on each side: 156 − 84 = 72 inches.
- The island can be up to 72 inches (6 ft) in the direction that crosses the room.
That is why the same “6 by 3” island is perfect in one kitchen and a bottleneck in another. Do the subtraction in both directions, because the island’s length also needs room at each end if people walk around it.
The HGTV island checklist suggests that before you commit, you ask whether you have roughly 11 by 11 feet of spare space, with 14 by 11 ideal. Treat that as a screening question: if your open floor is well below it, think about a smaller or movable piece.
A second sanity check is proportion. A widely quoted rule says an island should take up no more than about 10% of the kitchen’s total area. In a 200-square-foot kitchen, that is roughly 20 square feet, which is a 6 by 3 foot island with a little to spare. It is a guide, not a law, and open-concept rooms that flow into a living area can carry a bigger piece.
Standard kitchen island dimensions
There is no single standard, but the ranges below cover most American homes. Use them as starting points, then adjust to your clearances.
| Kitchen type | Typical island size | Typical use |
|---|---|---|
| Small or galley-adjacent | 4 ft x 2 ft (48 x 24 in) | Extra prep surface, storage, maybe two stools |
| Medium | 6 ft x 3 ft (72 x 36 in) | Prep plus seating for 2 to 3 |
| Large | 8 ft x 4 ft (96 x 48 in) or larger | Sink or cooktop, seating for 4 or more |
Three dimensions matter more than the rest.
Depth
Depth is where an island either earns its keep or becomes an expensive table. Experts note that anything shallower than 24 inches, the depth of a standard base cabinet, is generally unsuitable for dishwashers, cooktops or prep sinks. The same source cautions against going deeper than about 5 feet, because the middle becomes hard to reach for cooking and cleaning.
If you want a sink or cooktop plus an overhang for stools, aim for roughly 3 to 4 feet of depth. A 24-inch-deep island works well as a prep and storage piece but not as a full working island.
Depth also governs how well the island holds built-in gear. That is true indoors and out: outdoor kitchens follow the same logic, and a built-in outdoor kitchen island module with a grill shows how much cabinet depth a cooking appliance can claim before any counter is left for prep.
Length
Length comes from your room and from your stone. Standard countertop slabs have maximum fabrication lengths, typically around 3 meters, or about 10 feet. Go past that and you either accept a visible seam or pay for oversized slab sourcing. If you are dreaming of a 12-foot island, talk to your fabricator before you draw it.
Height
Most islands are built at standard counter height, 36 inches. A raised eating bar sits at 42 inches. The two heights call for different knee space, covered next. Mixing them on one island (a 36-inch work side and a 42-inch bar side) is a popular way to hide dishes from the dining area, but it adds cabinet complexity and cost.
Clearance around the island
Clearance is the part of island planning with the most agreement among professionals. The National Kitchen & Bath Association (NKBA) planning guidelines set these numbers:
- Work aisle: at least 42 inches for a kitchen with one cook, at least 48 inches when two or more cooks share the space.
- Walkway: at least 36 inches where the path is not a work aisle, such as a route that only passes the island.
A work aisle is any space between two obstacles where you stand and cook: between the island and the range, the sink or the refrigerator. A walkway is just a path.
Look at the tightest point, not the average. If the refrigerator door swings into the aisle, or the dishwasher door opens toward the island, count the open door as part of the obstruction. Many islands that measured fine on paper pinch at the dishwasher.
If you cannot reach 42 inches on the work sides, shrink the island. Designers are blunt about this: when a room is too tight to meet roughly 40 to 48 inches around, a peninsula or a mobile island often works better than a fixed island that makes the room feel jammed.

Work triangle or work zones?
The classic work triangle links the sink, cooktop and refrigerator. It still helps in a one-cook kitchen, but modern kitchens usually have more than one task going on: prepping, cleaning, baking, a kid doing homework. Thinking in zones (prep, cooking, cleanup, serving) is more useful today. The island typically becomes the prep or serving zone, so it should sit where the fewest steps connect it to the sink and the range, without cutting the path between them.
Our kitchen layout guide with NKBA numbers walks through how layouts change these relationships, and our piece on open-concept kitchens and 36 to 48 inch clearances covers what changes when the island faces a living room.
Seating: spacing, knee room and overhang
Seating takes a surprising amount of space. Plan for it from the start, because a stool zone adds depth to the island and a walkway behind it.
Knee space. The NKBA recommends at least 15 inches of knee space depth at a 36-inch counter and 12 inches at a 42-inch bar. That is the overhang you need on the seating side, and it adds to the island’s depth. A 36-inch-deep work surface with a 15-inch overhang gives you a roughly 51-inch island in total if the cabinets are 36 inches deep.

Room behind the stools. The same guidelines call for at least 32 inches from the counter edge to the nearest obstruction when no one walks behind the seated diner, and 44 inches when people do walk behind. In practice, that means a seating side that faces a wall or a tight corner needs real thought. If the stools face a walkway to the dining room, you are in 44-inch territory, in addition to the work aisle on the cooking side.
Width per person. As a planning allowance, many designers give each stool about two feet of counter length, so a 6-foot side seats three comfortably and a 4-foot side seats two. Backless stools that tuck fully under the counter save floor space when no one is sitting.
One-sided versus two-sided seating. Seating on one long side is the efficient choice. Two-sided seating doubles the clearance you must protect, so it only makes sense in large rooms.
Questions of function: what will the island do?
Size follows job. Before you fix dimensions, decide which of these the island must handle.
- Prep surface only. Compact is fine. A 4 by 2 foot piece with storage below suits a small family kitchen.
- Sink or dishwasher. You need at least 24 inches of depth for the cabinets and enough counter on both sides of the sink to work. This pushes the island toward 6 feet long.
- Cooktop. Needs depth, ventilation planning and landing space on both sides. This is the most demanding configuration.
- Seating and homework. Add knee space, a clean walkway behind and, ideally, an outlet within reach.
- Storage. Deep drawers on the cooking side hold pots and small appliances close to where you use them.
Be honest about which of these you will really use. An island that tries to be everything in a room that fits only a medium one produces the pinch points that make people regret it.
Outlets and other details to plan before cabinets arrive
Electrical planning is a frequent late surprise. The rule has also changed. Earlier editions of the National Electrical Code required receptacles on islands and peninsulas, but the 2023 NEC made an island receptacle optional. Your local jurisdiction decides which edition applies and may amend it, so ask your builder or building department what applies to your address.
Even where it is optional, most homeowners want power at the island for a mixer, laptop or phone charger. The choice between pop-up outlets, a strip under the overhang or an outlet in a cabinet face has to be made before the island is built, because adding wiring to a finished island is costly and difficult. The conduit has to reach the island through the floor, which is another reason to settle the layout early.
Also settle these before ordering:
- Counter overhang support. Deep overhangs on stone need brackets or corbels hidden in the cabinet design.
- Lighting. Pendant positions follow the island’s centerline, so they must be set before the ceiling work.
- Appliance door swings. Check every door against your island’s edge.
- Flooring. Decide whether the island sits on finished flooring or the floor runs under it, which affects future remodels.
Test the size before you build
Paper plans hide problems. Practitioners recommend mocking the island up in the real room with cardboard boxes or a table raised to counter height and living with it for several days.
Here is a simple way to do it:
- Mark the island’s footprint on the floor with painter’s tape.
- Stack boxes or set up a table at 36 inches to show the height.
- Mark the 42 to 48 inch aisle on each side with a tape measure.
- Open the refrigerator, dishwasher and oven doors, and walk the room carrying a laundry basket or a hot pot.
- Sit on a stool at the future seating side and see how someone walking behind you fits.
- Cook one real meal and note where you bump into things.
If you have to turn sideways anywhere, trim six inches and test again. It costs nothing, and it is much cheaper than moving a finished island.
Our perspective: how we size islands on real projects
We build and remodel kitchens for homeowners in Washington and Iron Counties, and island size is one of the first things we settle in design. Our approach is simple. We measure the room, set the clearances first, and then ask what the household cooks, how many people cook at once and where guests end up standing. The island comes last, and it is the leftover, not the starting point.
We use 3D renderings and virtual consultations so you can see the island in the room before anything is ordered, then walk the footprint with tape if you want to feel it. A rendering shows proportion well. Tape on the floor shows traffic.
Our most honest advice: a slightly smaller island that leaves generous aisles beats a large one that looks great in the showroom and blocks the dishwasher every night. If your kitchen cannot carry a fixed island, a peninsula gives you the same prep and seating with one side anchored to the wall. We would rather tell you that than sell you cabinets that do not fit.
— Jake
What an island changes about budget and scope
Adding or enlarging an island is not just cabinets and stone. It can bring electrical runs, plumbing if there is a sink or dishwasher, flooring repair and lighting. That scope is why island decisions belong in the earliest phase of a remodel, not the last.
Our published ranges give you a frame: small kitchen remodels run $20,000 to $40,000 and mid-range remodels $40,000 to $70,000. If you want to move walls to make room for an island, our kitchen expansions are listed at $50,000 to $150,000 on our room additions page. Your own number depends on the layout, finishes and what is behind the walls. For a breakdown of where money goes, see our kitchen remodel budget guide and our look at the most expensive part of a kitchen remodel. If timing matters, here is how long a kitchen remodel takes.
Planning an island in Southern Utah?
If you are thinking about a new island or a full kitchen redesign in Washington or Iron County, our team handles design and construction under one point of contact. We can render your layout in 3D, check clearances against your actual floor plan and give you a clear cost breakdown before work starts. Start with our kitchen remodeling services or contact us through our site.
FAQ
What is a good size for a kitchen island?
For most homes, a 6 by 3 foot island is a safe middle ground, with about 4 by 2 feet for compact kitchens and 8 by 4 feet or more for large ones. The right size is whatever remains after you leave 42 inches of aisle on each work side (48 inches for two cooks). Always check against your own floor plan.
Is a 7-foot island too small?
No. Seven feet gives you room for three stools on one side or a sink and prep space with a cooktop or dishwasher nearby. What matters more is depth: at least 24 inches for cabinets, and 36 inches or more if you want appliances plus seating.
Can a kitchen island be 24 inches wide?
Yes, as a prep and storage piece. A 24-inch depth matches standard base cabinets, but it is generally too shallow for a sink, dishwasher or cooktop. Adding stools would also need extra overhang beyond that depth.
What is the minimum clearance around a kitchen island?
The NKBA recommends 42 inches for a one-cook work aisle and 48 inches for two or more cooks. Walkways that are not work aisles can be 36 inches. Measure with appliance doors open, since they often create the tightest point.
Do I need an outlet on my kitchen island?
Under the 2023 NEC, an island receptacle is optional, while earlier editions required one. Local codes vary by jurisdiction, so confirm what applies to your address with your builder or building department. Most households still want one, and it must be planned before the island is built.
Sources
- NKBA Kitchen and Bath Planning Guidelines
- NKBA Kitchen Planning Guidelines (PDF)
- Fine Homebuilding: How to Design a Kitchen Island
- HGTV: Kitchen Island Checklist (PDF)
- The Spruce: Kitchen Planning Guide
- Homebuilding: How to choose the right kitchen island size
- NEC 210.52©(2) and (3): island and peninsular countertops
Recommended
- Open-Concept Kitchen for Homeowners: 36–48 in Clearances, Beam to Hood
- Kitchen Remodel Timeline: Realistic Ranges and What to Order First
- Measure First: 9 Kitchen Layout Ideas for Homeowners With NKBA Numbers
Images in this article are editorial illustrations, not Prestigious project photography.