
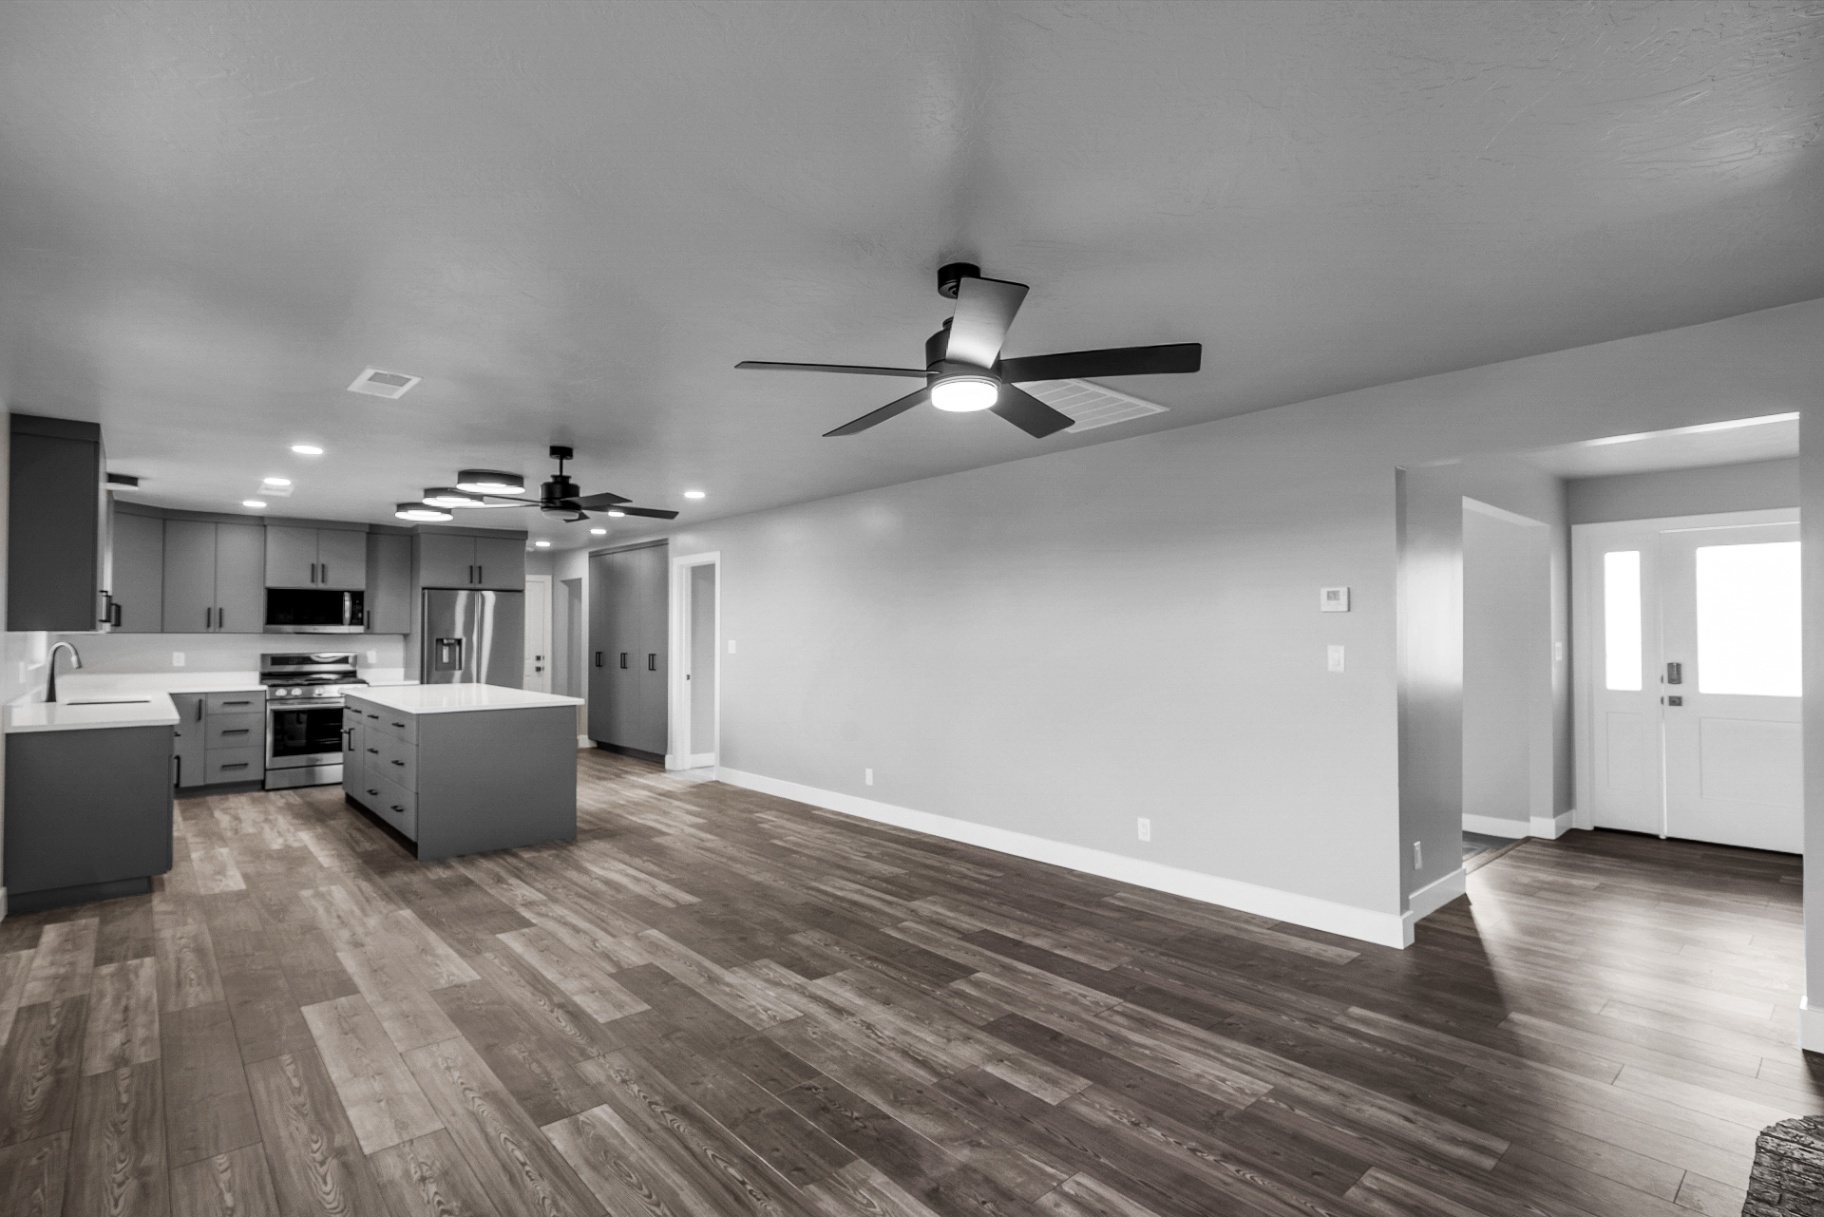
Garage Workshop Conversion: Plan, Power, Air and Layout

A good garage workshop is built in a set order: fix the shell, run the power, handle dust and air, finish the surfaces, and only then bring in benches and machines. Skip that order and you end up with a wet slab, overloaded circuits and a shop that is miserable to use in July. If you are in Washington or Iron County, Utah, we build these conversions as part of our remodeling work, and the planning below is what we would walk you through at the first meeting.
TL;DR
- Build in sequence: water and air sealing first, electrical rough-in next, walls, ceiling and floor after, benches and storage last.
- Plan dedicated 20-amp circuits for tools, GFCI protection on garage outlets and, for a serious shop, a subpanel.
- Dust and fumes need capture at the source plus fresh air moving through the room, not just an open door.
- A wall shared with the house needs fire-rated drywall and sealed penetrations.
- Get the scope, permit and budget settled before you buy a single machine, so the shop fits the room you actually have.
Table of Contents
- Decide what the shop is for before you design it
- Fix the shell first: water, slab and pests
- Fire separation from the house
- Electrical: the part to plan on paper
- Ventilation: dust, fumes and heat
- Safety planning that shapes the layout
- Layout and ideas that work by garage size
- Floors, walls and finishes
- What a garage workshop conversion costs
- Permits and who handles what
- A sensible order of work
- Let us plan your garage workshop
- FAQ
- Sources
Decide what the shop is for before you design it
A woodworking shop, a metal and welding bay, an auto and motorcycle space and a hobby and craft room all ask different things of the same 400 square feet. Woodworking needs long clear runs for lumber and serious dust control. Auto work needs floor strength, drainage thinking and fume handling. Crafts need light, climate comfort and clean surfaces.
Write down three lists before anything else:
- Machines and tools you own or will buy in the next two years, with their power needs.
- Materials you store, including finishes, solvents and sheet goods.
- Cars and gear that still have to live in the garage. If one bay stays a parking bay, the shop layout changes completely.
This is also where you decide whether the space is a workshop, a workshop plus a future living space, or something that could later become an accessory dwelling unit. A garage that is converted fully into a workshop can be harder to turn back into a garage, so it is worth thinking about now.
Fix the shell first: water, slab and pests
The build-out sequence published by GarageShopCalc runs in this order: empty the room, fix water problems, seal and insulate the shell, run electrical rough-in, finish walls and ceiling, hang lights, treat the floor, then build benches and storage last. Its editors make a point worth repeating: water intrusion, slab cracks and pest gaps need attention before any finish goes up, because a shop built over a wet slab rusts every machine you own.
In practice that means walking the empty garage after a rain or a heavy irrigation cycle and looking at where water enters, where the slab has cracked and where daylight shows around the door and sill. If you want to understand how moisture problems start and what fixes them, this explanation of the causes of damp in homes is a good primer before you close up any walls.
Two more shell items catch people out:
- Combustion appliances. A gas water heater or furnace in the garage must never be boxed in by new walls or shelving. GarageShopCalc flags this specifically. Keep the clearances and the air supply it needs.
- Air leaks. Sealing gaps before you insulate is what makes insulation work. We cover the options in our garage insulation guide, which starts with sealing air leaks for exactly that reason.
Fire separation from the house
If the garage is attached, the wall and ceiling between it and the living space are a safety system, not just a finish. Under the 2018 International Residential Code, section R302.6, as summarized by Jaspector, the garage side needs at least 1/2-inch gypsum board, and 5/8-inch Type X board where the garage sits below habitable or sleeping rooms. Penetrations need approved fire-stopping material.
That last detail is where DIY shops often fail: a new outlet box, a duct or a cable passing through the wall without a proper seal. A workshop is more likely than a plain garage to have sparks, finishes and heat sources, so this barrier matters more, not less. Your local building department confirms which code edition and amendments apply to your address.
Electrical: the part to plan on paper
Power is the single most common reason a garage shop disappoints. A typical garage has one or two general circuits that were never meant for a table saw, a dust collector and lights at the same time.
The Hods garage workshop layout guide suggests a floor of two dedicated 20-amp circuits for power tools plus one for lighting. Four to six circuits is a better setup, with the table saw and dust collector each on their own, and a subpanel with 240-volt capability is the best option. It also recommends outlets about every 4 feet along the bench wall and GFCI protection on all garage outlets, which is also what code expects.
Here is how to turn that into a plan:
| Item | What to decide |
|---|---|
| Stationary machines | List each with its voltage and amp draw; the biggest ones get their own circuit |
| Bench power | Outlets along the bench wall, plus a few overhead drops for tools you move around |
| Lighting | Its own circuit so a tripped tool breaker never leaves you in the dark |
| Subpanel | Worth it if you plan more than a handful of circuits or any 240-volt tool |
| Future needs | Run conduit with room to add, since it is cheap now and expensive after drywall |
Electrical work in a finished-wall conversion should be done and inspected by a licensed electrician under permit. Rough-in happens before drywall, which is why the order of work matters.
Ventilation: dust, fumes and heat
Garage workshop ventilation is a small search topic with big consequences. Sawdust, finish fumes, solvent vapors and welding or grinding particles do not all behave alike. Ventilation engineers at United Enertech explain that contaminants rise, settle or disperse differently, so the system should capture pollutants at the source and combine local exhaust at the workstation with general ventilation for the room.
For code context, the Seattle Mechanical Code is one published example of the principle: it requires an exhaust system where processes produce dust, heat, odors, fumes, spray, gas or smoke in quantities irritating or injurious to health, with the exhaust inlet placed where contaminant concentration is heaviest. Utah jurisdictions set their own mechanical code requirements, so ask your building department what applies.
A practical layout for a two-car garage, described in Styledfresh’s 2026 workshop guide, pairs an exhaust fan in the rear wall or soffit, ducted outside, with intake louvers on the opposite wall so air crosses the room. It also suggests a wall-mounted dust collector in the $200 to $600 range or a small portable unit at $100 to $300, and a bigger fan or 6-inch ductwork where you work with paint, stripper or solvents. Treat those prices as one guide’s ballpark, not a quote.
Southern Utah adds a wrinkle: summer heat. A shop that is sealed tight and insulated but has no fresh air path will trap heat and fumes. Plan the air path and the cooling and heating together, not as afterthoughts.

Safety planning that shapes the layout
Safety is a layout decision, not an accessory. The First Day Training home workshop guide gives a clear set of rules that translate directly into drawings:
- Leave space around each machine for the longest workpiece to pass through.
- Keep walkways clear and plan two exits if you can.
- Put GFCI protection on shop outlets and install smoke and carbon monoxide alarms.
- Keep space heaters away from sawdust and fuels.
- Store finishes and solvents in closed, labeled containers away from ignition sources, and put oily rags in a lidded metal can.
The GaragePlaybook guide draws on OSHA’s woodworking guidance, which notes that inadequately guarded machines can cause serious injuries, including lacerations and amputations. It advises keeping blade guards, riving knives and anti-kickback devices in place, using push sticks, keeping eye and hearing protection and a dust mask at the entry, and mounting a fire extinguisher near the door. Put the extinguisher and the protective gear on your plan so they have a home before the first cut.
Layout and ideas that work by garage size
Start with the workflow, not the furniture: material comes in, gets cut, gets assembled, gets finished and goes out. Arrange stations in that order along the longest wall, and keep dusty work away from finishing.
For a narrow single-bay garage, This Old House shows how Tom Silva solved the problem with tactics you can borrow:
- A Murphy-style table that folds up in front of the table saw.
- A sliding miter saw on an articulating arm that crosscuts boards up to 14 inches wide while resting against the wall.
- A 32-inch bench that doubles as outfeed support.
- A box fan rigged to pull in fresh air or blow out sawdust and fumes.
For a two-car garage, the common answer is to keep one bay for the car and give the other to the shop, with the heavy machines on casters or mobile bases so the floor can be cleared. Sheet goods and long lumber are best stored on a wall rack near the door, so you cut where you load.
Walls matter as much as floor space. Blocking or plywood sheathing behind the drywall lets you hang cabinets and tool storage anywhere, and it is far easier to add before the walls are closed. Lighting should be bright and even, with fixtures placed over the work surfaces rather than only in the middle of the ceiling.
Floors, walls and finishes
Once the shell is sealed and the rough-in inspected, close up the walls and ceiling, then treat the floor. A sealed or coated slab resists oil and is easier to sweep, and a wood or rubber mat at the standing stations eases fatigue. Do the floor after the dusty drywall work and before the benches, as the build-out sequence above recommends.
A light wall color brightens the shop considerably, and a washable surface near the finishing area saves cleaning. If the garage will also be a hangout space, think now about heating and cooling capacity, since a sealed, insulated room behaves very differently from an open garage.
What a garage workshop conversion costs
The cost depends on how much of the list above you actually need: moisture repair, insulation, a subpanel and new circuits, drywall with fire-rated assemblies, ventilation, flooring and storage. A shop that only needs power and shelving sits at one end, while a fully conditioned, insulated and ventilated room with a new subpanel sits well above it.
We do not publish a price for a workshop conversion, because the scope varies so much. For a grounded starting point, our garage conversion cost guide and our garage finishing cost guide lay out 2026 price ranges and what drives them. The biggest swing factors are almost always the same: electrical capacity, insulation and climate control, and whether any structural or foundation work is involved.
If your plan might evolve into a living space later, the closest comparison on our price list is a garage conversion ADU, which we list at $60,000 to $120,000 as a one-off project. A workshop is a smaller scope than that, but the same planning, with insulation, electrical and fire separation done properly, makes a later conversion easier.
Permits and who handles what
Permit rules vary by city and county, and a workshop that changes electrical service, adds ventilation ducting or alters a fire-rated wall usually brings the building department in. Ask your local building office before you start which work needs a permit and which code edition applies. In our service area, that means the city or county office where your home sits.
The inspections are part of the process, not an obstacle: the electrical rough-in gets inspected before drywall, and the fire separation gets checked before it is hidden. Planning your schedule around those inspections keeps the project moving.
A sensible order of work
- Define the use. Machines, materials, vehicles, and whether it might become living space.
- Inspect the shell. Water, slab cracks, gaps, combustion appliances.
- Draw the plan. Layout, circuits, ventilation path, exits, extinguisher location.
- Confirm permits with your building department.
- Seal and insulate.
- Electrical rough-in and ventilation ducting, then inspection.
- Fire-rated drywall and sealed penetrations.
- Lighting and floor treatment.
- Benches, storage and machines, placed last.
Our view: design the shop on paper first
We build homes and remodels across Washington and Iron Counties, and the garages that turn into great workshops share one trait: someone drew the whole thing before any wall was closed. The electrical plan, the air path and the fire separation all live inside the walls, so they are the parts that cannot be fixed cheaply later.
That is why we start projects with design. Our process uses virtual consultations and 3D renderings so you can see the layout, bench walls and storage before construction begins, and one point of contact covers both design and construction. For a workshop, that means the person who sketches your circuits is the same one who answers when the framing crew has a question.
Our advice is simple: treat the garage as a room that deserves the same planning as a kitchen. Decide what it must do, plan its power and air, and build it in order.
Jake
Let us plan your garage workshop
If you want a garage that works as a real shop, we handle custom remodeling and additions throughout Washington and Iron Counties, Utah, with design and construction under one roof. Bring your equipment list and a few photos of the garage, and we will help you turn it into a plan, a layout and a scope you can budget against. See our garage conversion and ADU services, or start with the Prestigious Home Builders home page.

If you are weighing a conversion against building new, our garage construction services cover attached, detached and RV garages, and our guide to converting a garage to an ADU explains the living-space route.
FAQ
How much power does a garage workshop need?
At minimum, plan two dedicated 20-amp circuits for tools and one for lighting, per the Hods layout guide. Four to six circuits is a better setup, and a 240-volt subpanel is the best option for a serious shop. Have a licensed electrician size it to your machines.
Do I need a permit to convert my garage into a workshop?
Often yes, especially when you add circuits or a subpanel, change a fire-rated wall or install exhaust ducting. Requirements differ by city and county, so confirm with your local building department before work starts. We can help you plan around the inspections.
How do I ventilate a garage workshop?
Capture dust and fumes at the source, then move fresh air across the room. A common layout uses an exhaust fan ducted outside on one wall and intake louvers on the opposite wall, as described in Styledfresh’s guide. Finishing and solvent work call for a stronger fan or larger ductwork.
What should I do first when converting a garage?
Empty it and look for water problems, slab cracks and gaps. GarageShopCalc’s build-out sequence puts those repairs ahead of insulation, wiring, finishes and, last of all, benches and storage.
Sources
- How to Build a Workshop in a Garage: The Build-Out Sequence
- Garage Workshop Layout: Planning Your Home Shop
- Setting Up a Home Workshop: Free Safety Training
- Garage Workshop Ideas: Layout, Power, Light and Safety
- How To Build a Garage Workshop, This Old House
- Seattle Mechanical Code, Chapter 5
- Workshop Ventilation System: What to Know?
- 2-Car Garage With Workshop: Design and Planning Guide
- IRC 2018 Garage Fire Separation Drywall Requirements
Recommended
Images in this article are editorial illustrations, not Prestigious project photography.